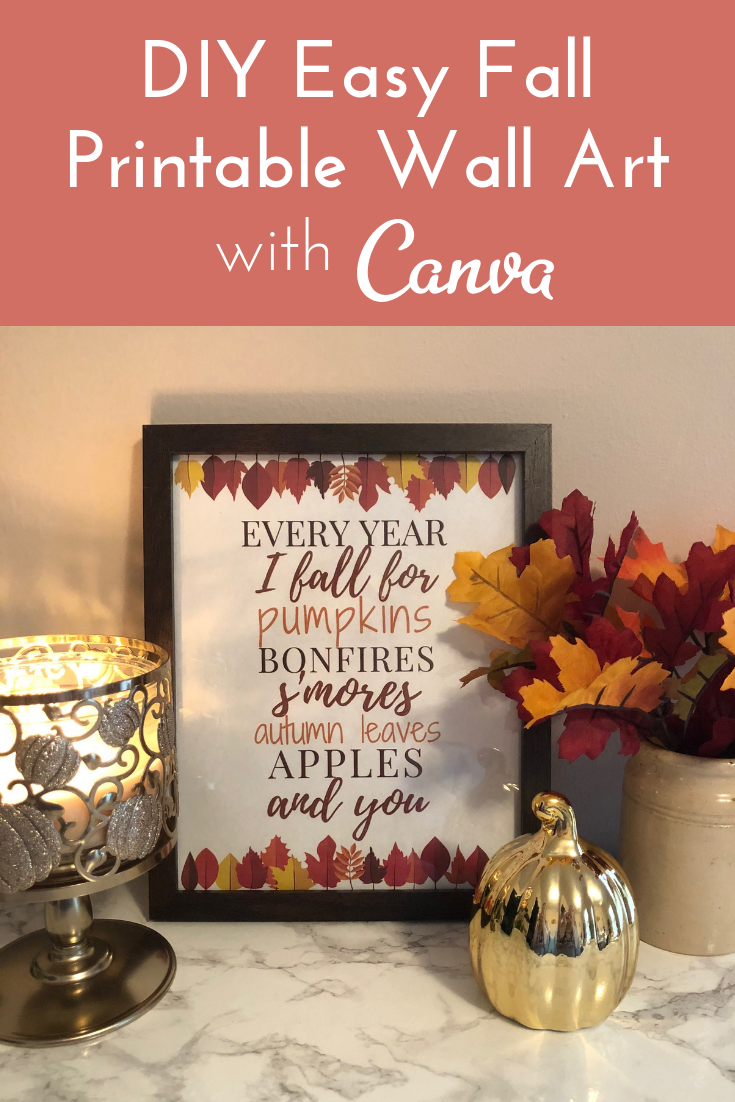
If you feel like jumping in a pile of leaves, buying every pumpkin you see, and have already been wearing thick, fuzzy sweaters, chances are, you already know what time of year it is! I'm sure you're just as excited as I am for cool weather and breaking out all of your fall decorations (if you haven't already done so!). In the past few weeks as I have been pining for lower temperatures (thanks, North Carolina humidity), I have been in the mindset that if I pretend it's fall-like outside, maybe it will start to actually feel that way. Even though I am still working on that aspect, I was inspired to make this easy fall printable wall art with Canva to get in the autumn spirit!

***This post contains affiliate links. I may earn a commission if you make a purchase using my links and it does not cost you any extra. This helps support my blog and allows me to continue to make quality content for you to enjoy. Thank you for your support!
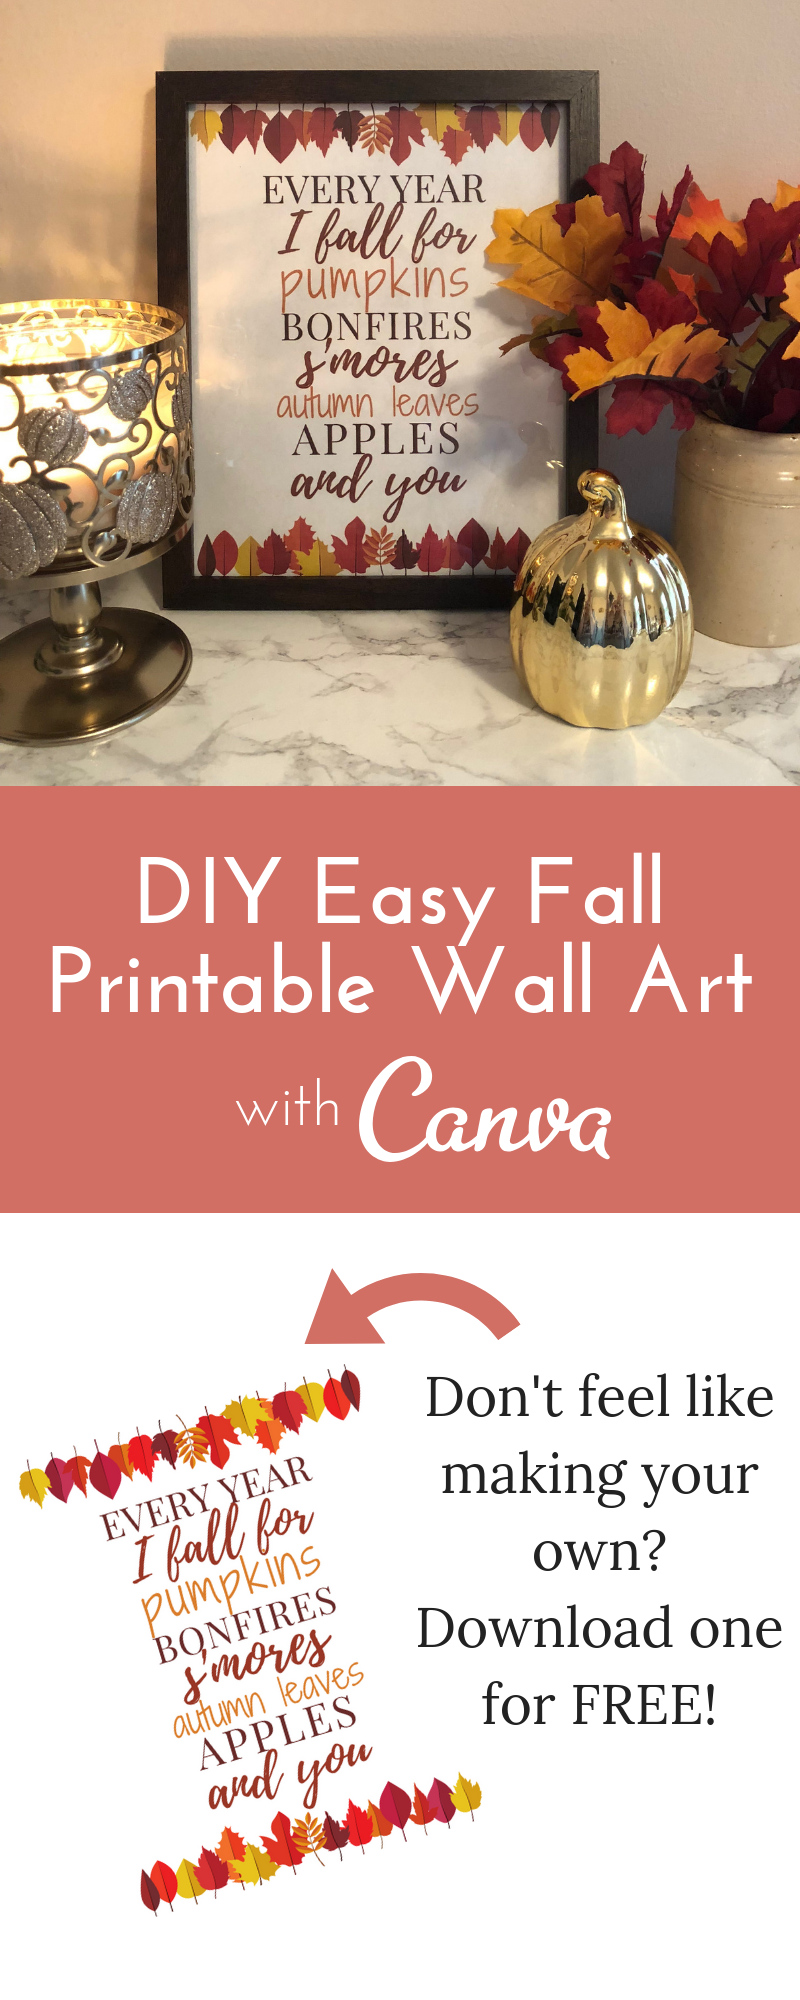
I freakin' love Canva. It has any and everything you could ever need to create a pretty design in a short time frame without having to know a lot about design. They have thousands and thousands of templates, graphics, illustrations, photos, and so much more that you can add to your designs to make them look super professional. If you think Canva is just for businesses and entrepreneurs, think again! Canva has templates for anything from teachers' worksheets to planner pages to wedding programs to organizational labels (Trust me- I've tried them all!). I literally use it for everything. And, with Canva Pro, you get access so so many more features. My favorites are the ability to upload my own fonts, save my favorite color palettes, and all the stock images I get to use! The best part is, you can try it for FREE for 30 days! So stay tuned for more fun DIY designs, especially my DIY wedding tutorials using Canva coming later this fall! My favorite thing about fall printable wall art is just how easy and affordable they are. You can literally use any quote or saying that you like and any other elements you find appealing. Trust me, I liked so many quotes, I had to make more than one. You're not just limited to what fall wall decor you can find in the store. When you print your DIY easy fall printable wall art, you're not even limited to what it's printed on. these easy fall printables are easy enough to just print on printer paper and frame in a pretty frame, but you could also get inventive and experiment with what paper you use and how you hang it. I would love to see your versions of this DIY easy fall printable wall art! Send me pictures and let me know how it turned out in the comments below! Without further ado, here is the tutorial for easy fall printable wall art with Canva.
Instructions
Related Posts:
1 Comment
11/6/2022 11:43:27 pm
Thank you so much for sharing this! It is so inspiring and we got a lot of ideas. This is also a must read for all people who's looking for an <a href="https://www.windsongtagaytay.com" title="event's place" alt="event's place">event's place</a> that is perfect for any kind of occasion. Kudos! Leave a Reply. |

AuthorI'm Jennifer, a 26 year-old crochet enthusiast who loves sharing my projects with the world. You shop shop a variety of my designs on Etsy! Jennifer Hines is a participant in the Amazon Services LLC Associates Program, an affiliate advertising program designed to provide a means for sites to earn advertising fees by advertising and linking to amazon.com. Categories |

 RSS Feed
Blog Posts |
Beanies & Weenies |
|