|
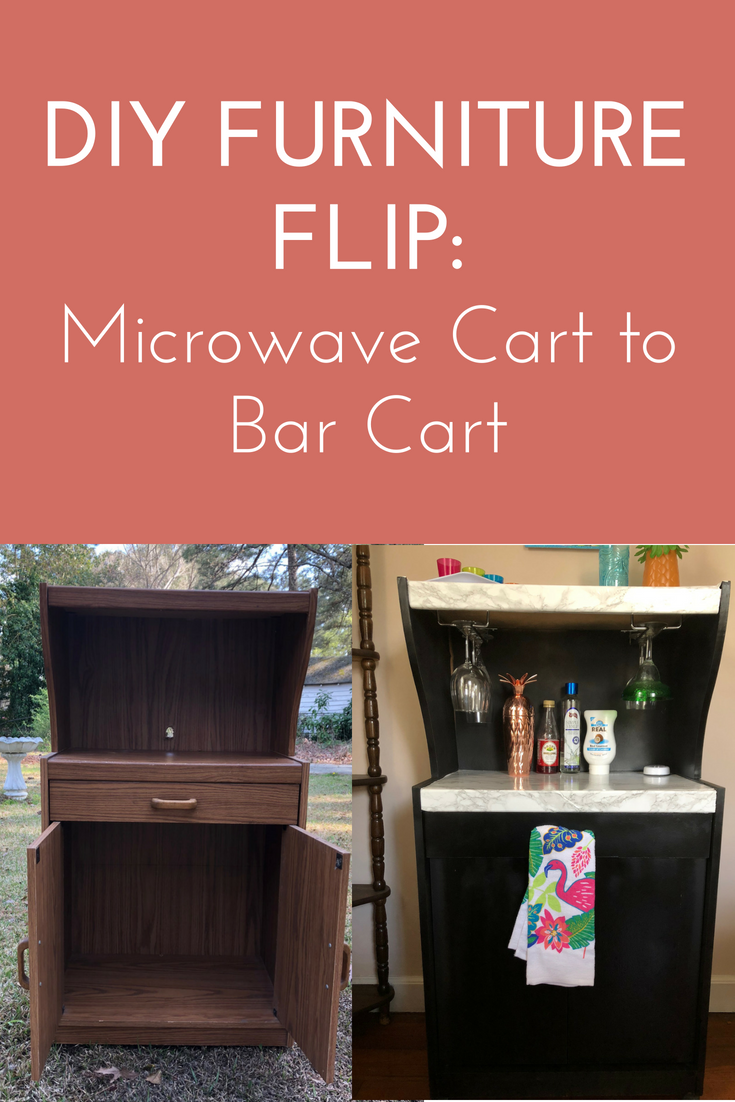
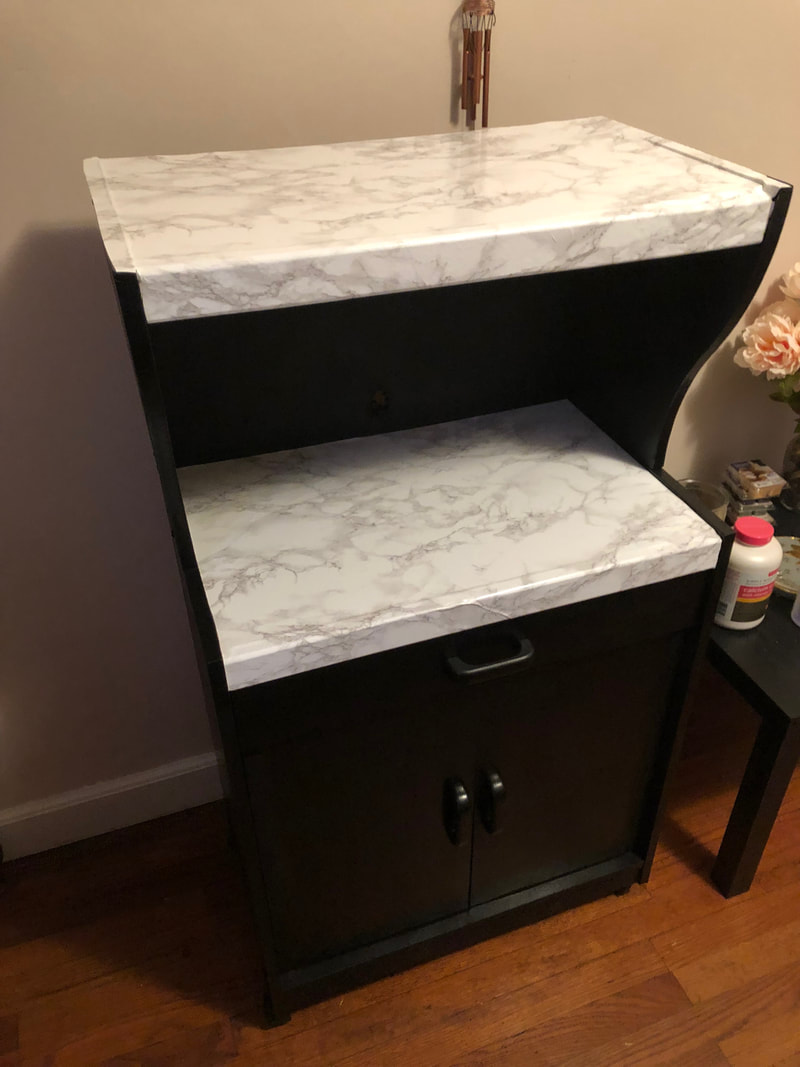
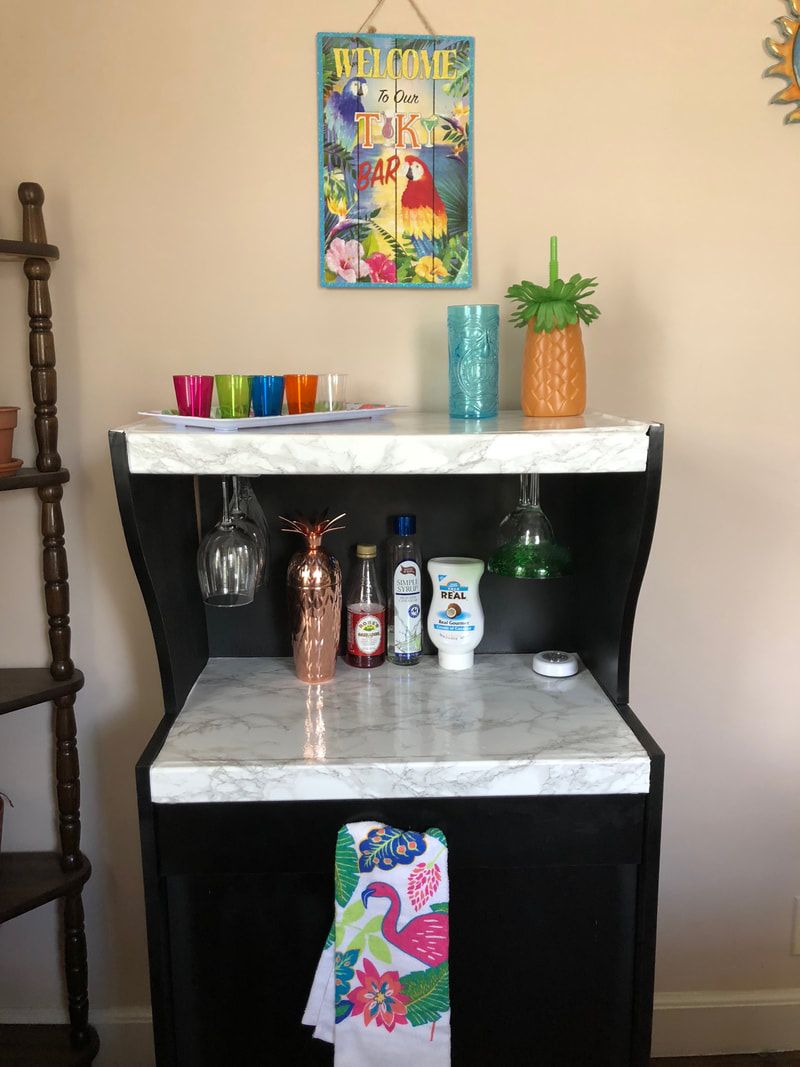
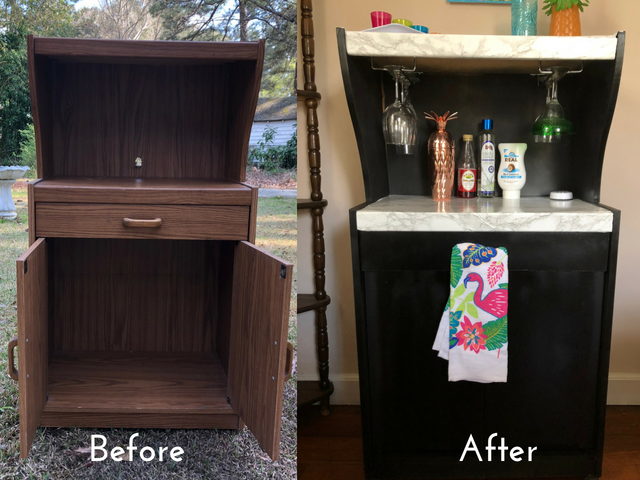
I am so excited to share my latest DIY project with you: my microwave cart turned bar cart! I am so in love with the way this turned out. It makes the perfect addition to my dining room.
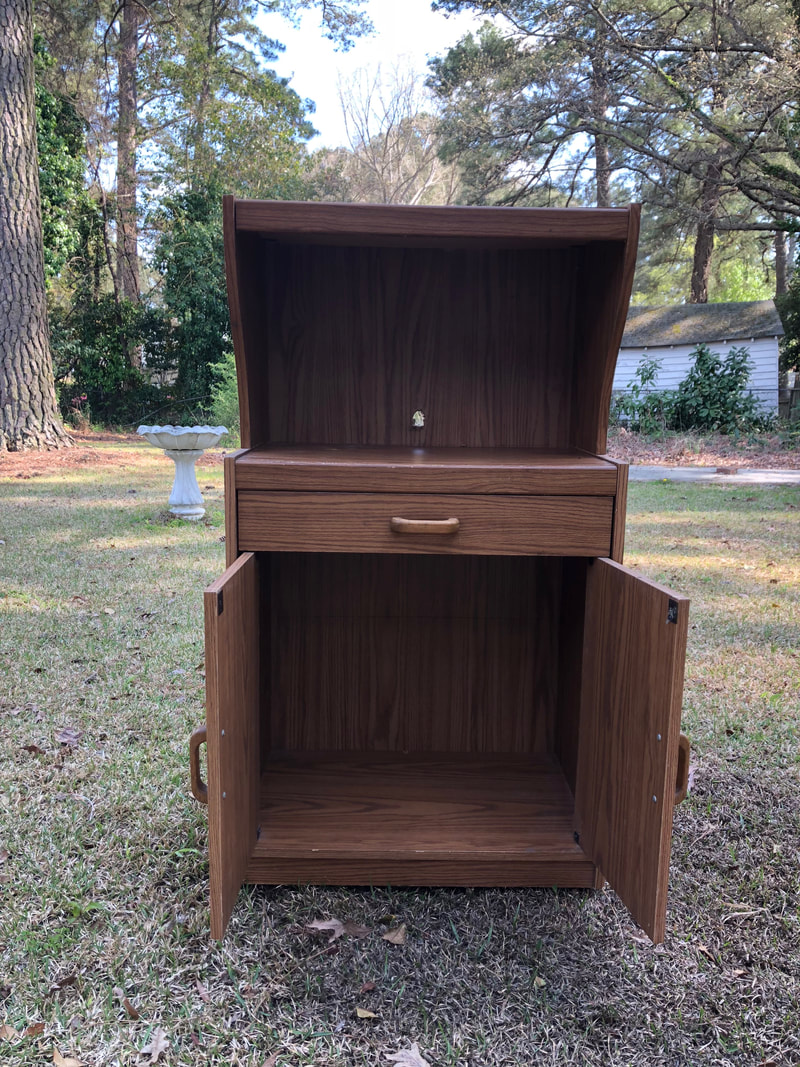
This project came to be for a number of reasons. First, I had a whole bunch of liquor bottles taking up valuable space on my my kitchen counter. Second, my parents were getting rid of this old microwave cart and I thought it had potential. Third, I have an empty wall in my dining room that I felt needed something and I have always wanted a bar cart. Thus, this DIY project was born!
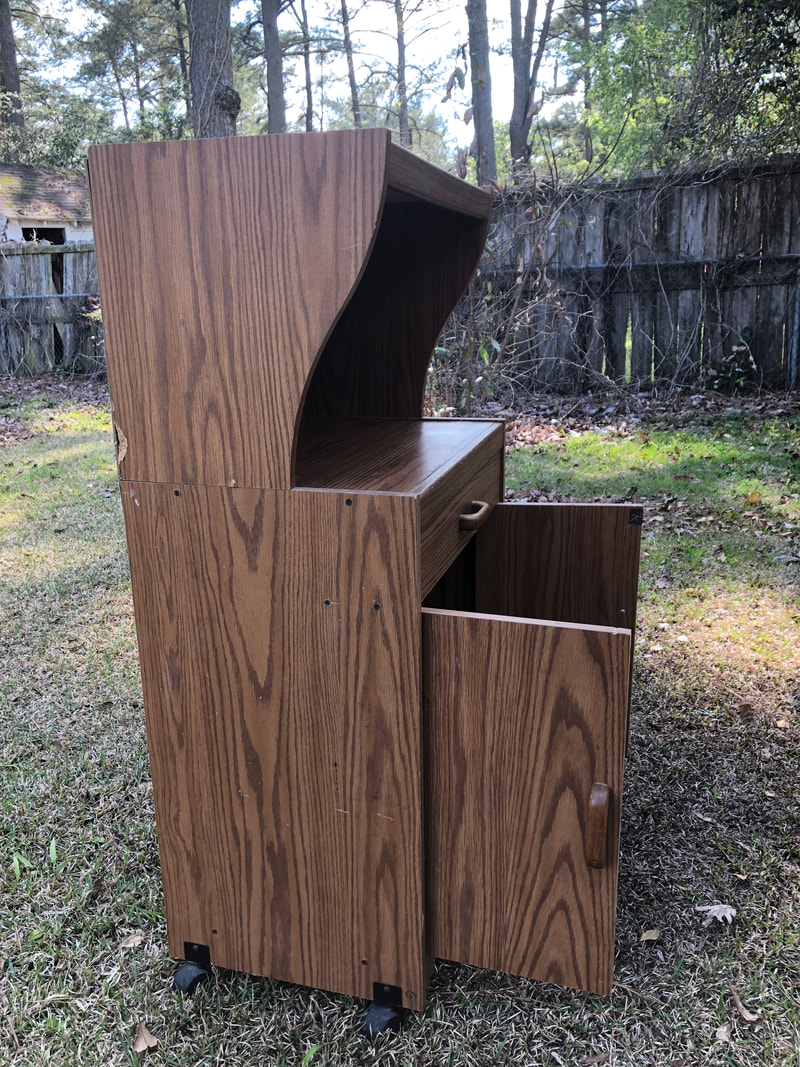
And it actually turned out easier than I thought it would be! I knew I wanted to paint it from the beginning. No more of the faux wood exterior. Plus, some of it has been puckered with age so painting the cart would help hide some of the blemishes. I also knew I wanted to use marble contact paper because it's so trendy right now. In fact, I wish I had marble counter and table tops in every room!
I was worried that using marble contact paper in this DIY furniture flip would be hard. I had never used contact paper before and I thought I might be too uncoordinated to keep it from crinkling. But it turned out much easier than I thought! I just had to peel the backing off very slowly and use a card to smooth out the bubbles. All in all, this DIY furniture flip only took a few hours to do. The paint drying was the longest part. Flipping hand-me-down furniture is how Zack and I furnished our first apartment, and now our house. Without hand-me-down's, we might would be sleeping and eating on the floor! To hopefully inspire you in your next furniture flip, see everything I did to create a bar cart out of an old microwave cart below! Materials:
Steps:
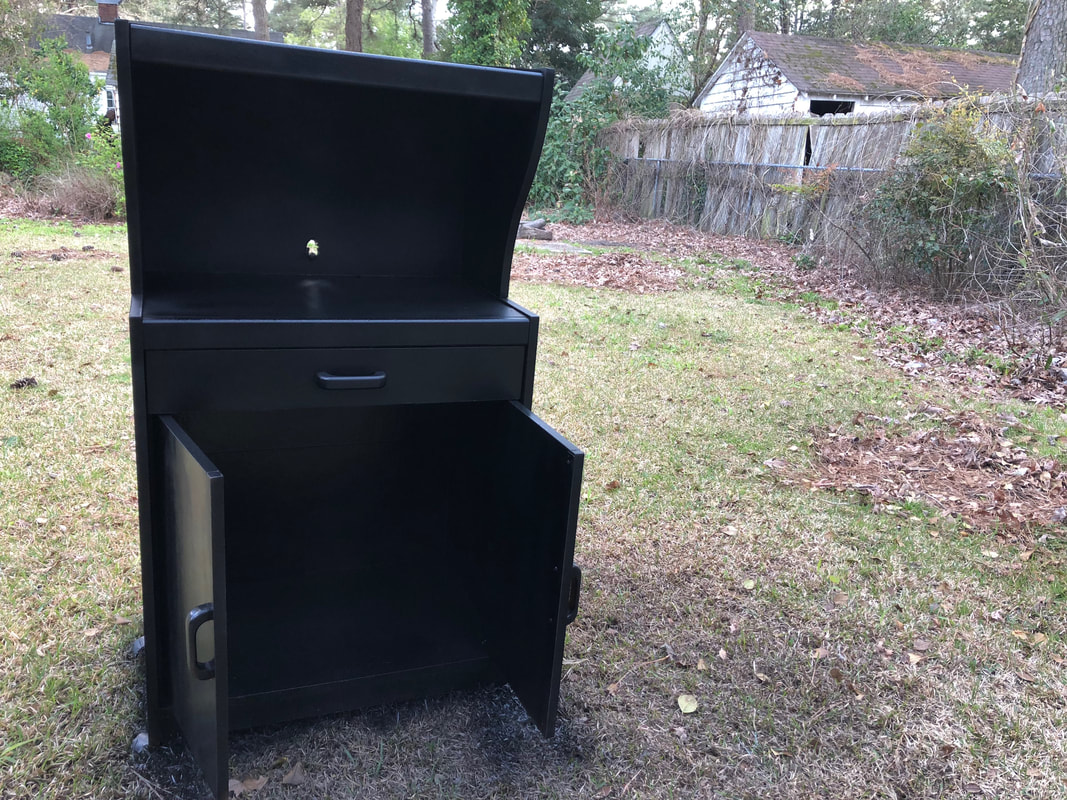
Step 1: Using the spray chalkboard paint and following the instructions on the can, paint the entire bar cart, include the inside of the cabinets. You can chose to prime the microwave cart first but, depending on the type of spray paint and material of the cart, it may not be necessary.
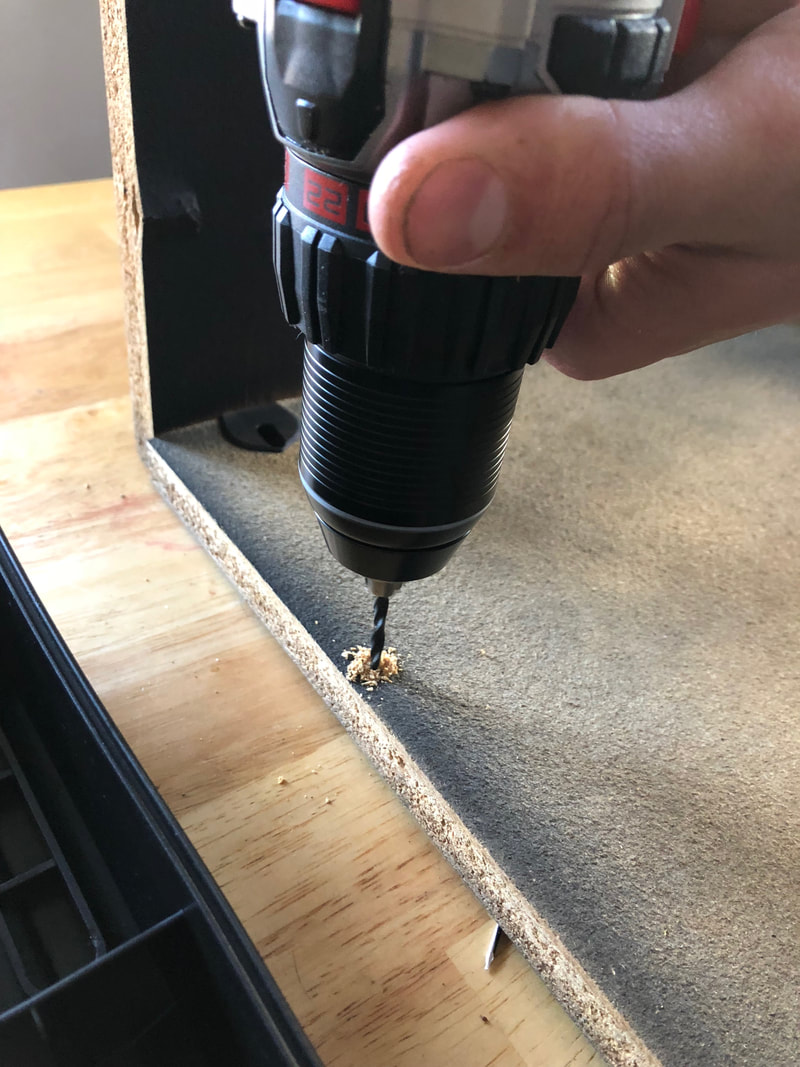
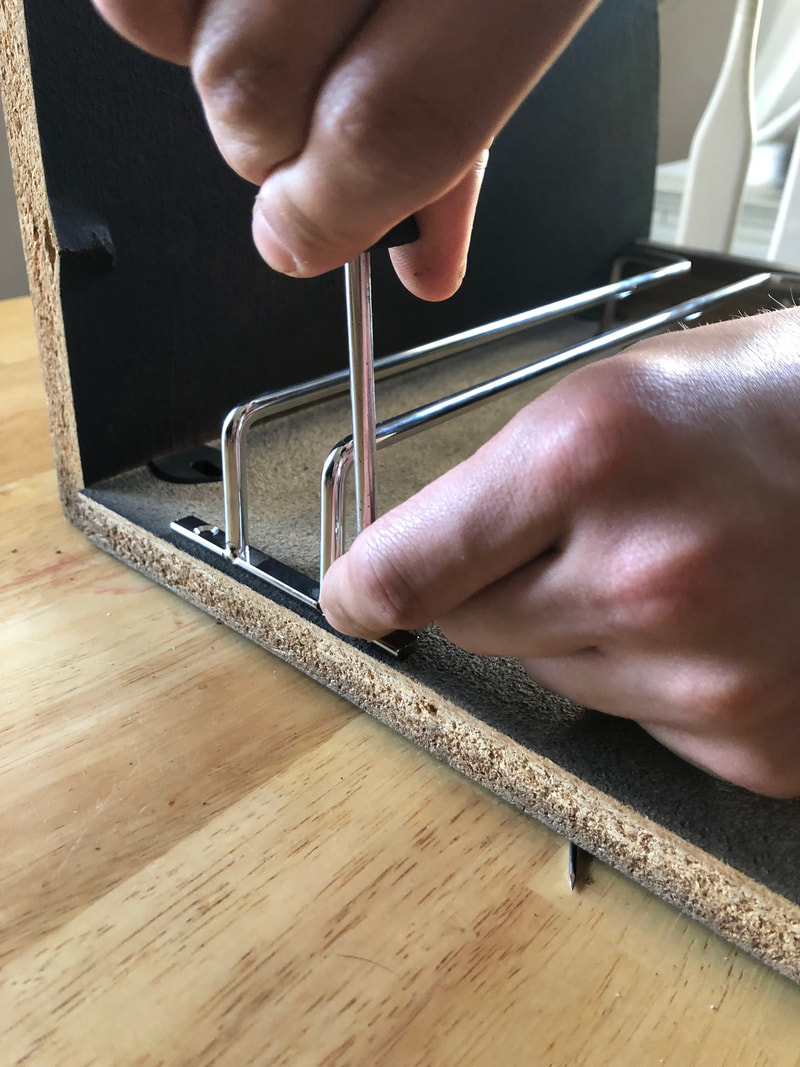
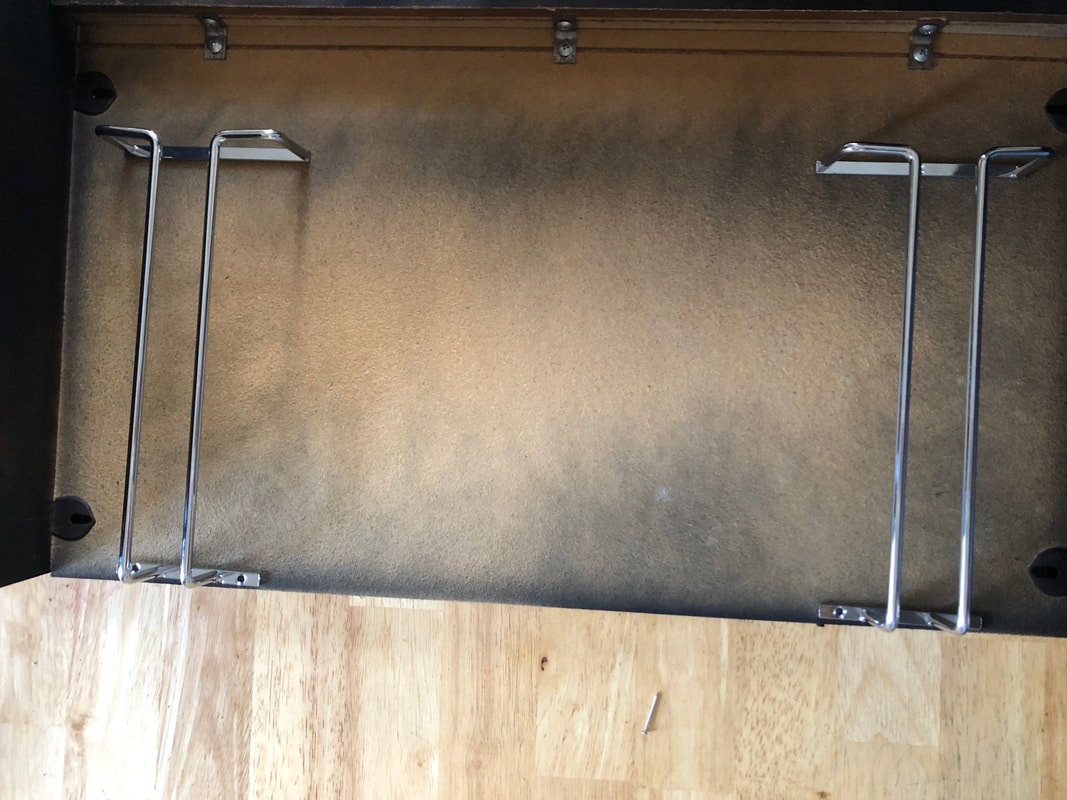
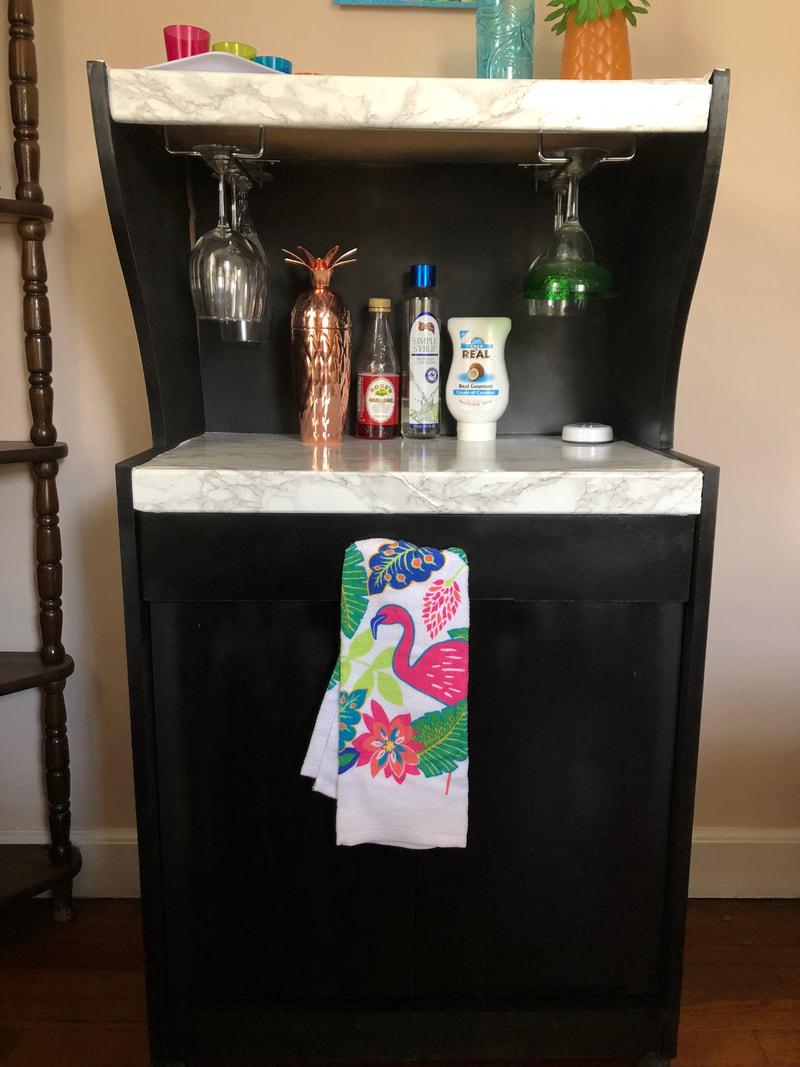
Step 2: After the paint is dry, remove the top tier and flip it upside down. Measure out the distance between holes on the wine glass racks and drill corresponding holes. Then, attach the wine glass racks with screws.
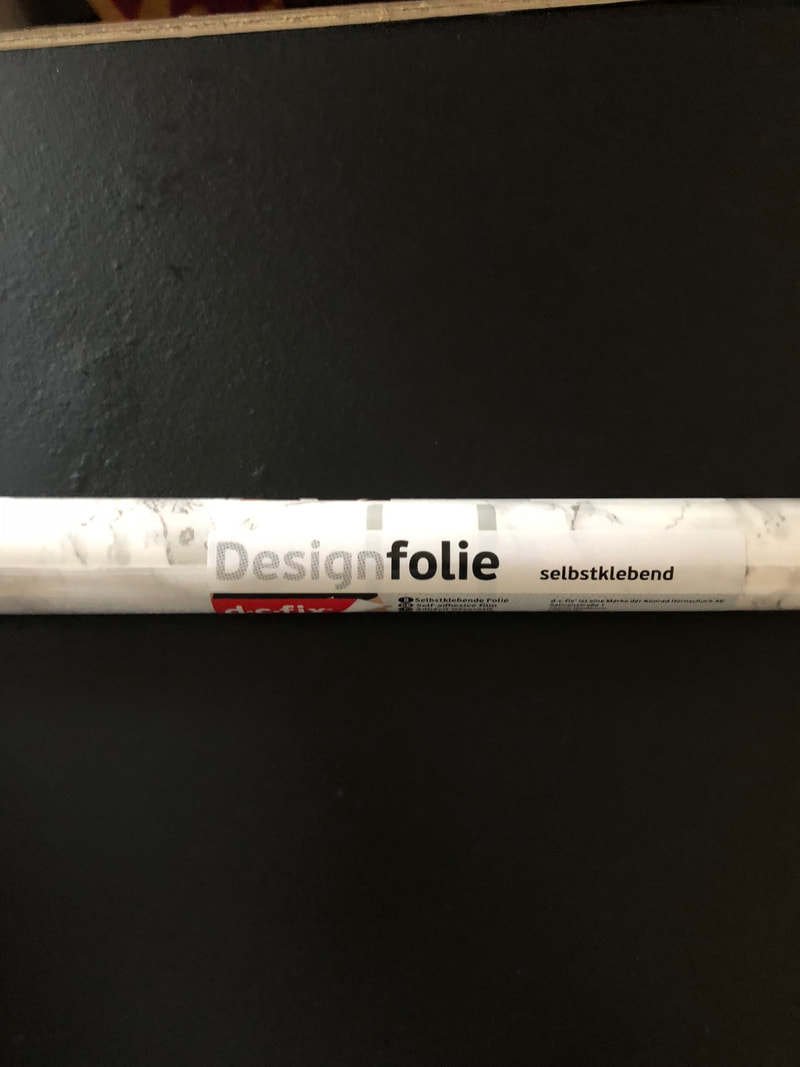
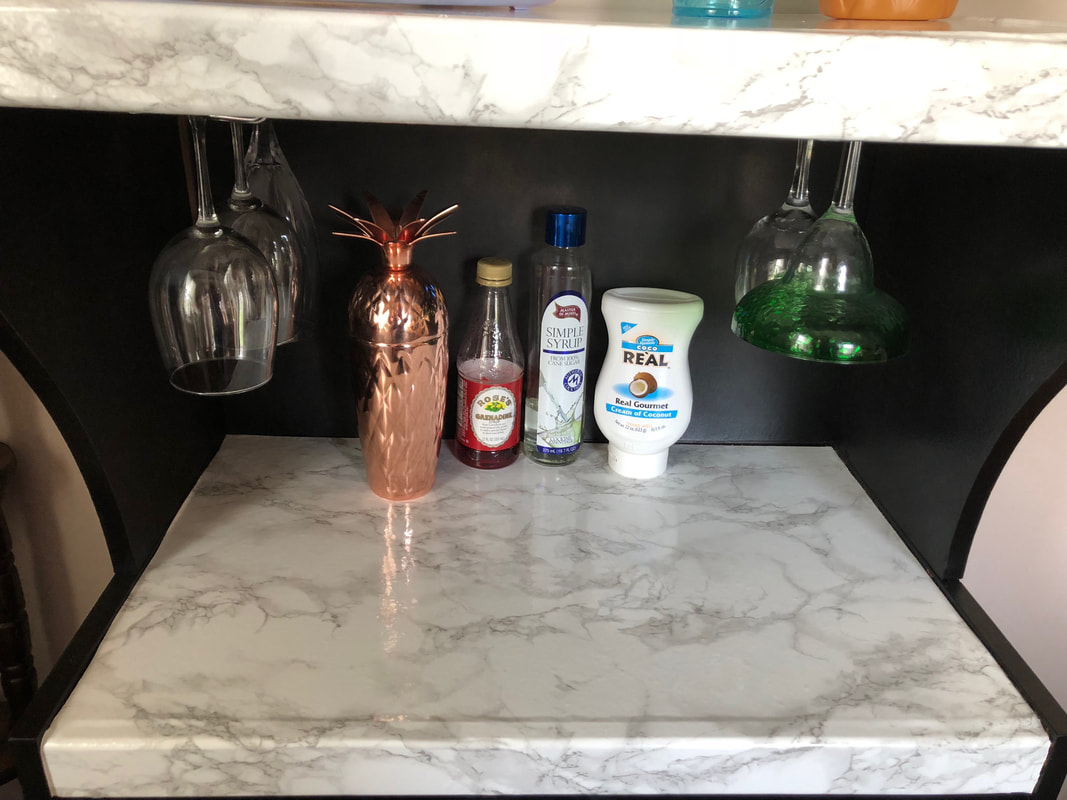
Step 3: Apply the marble contact paper to the top of the cabinet before reattaching the top portion. For me, the easiest way to apply the contact paper was to start at the back of the cabinet and slowly peel off the backing as I smoothed it out across the surface. I used a credit car to help the smoothing process and to avoid bubbles and crinkles. Once all the contact paper is applied, reattach the top of the cart and repeat the contact paper application here.
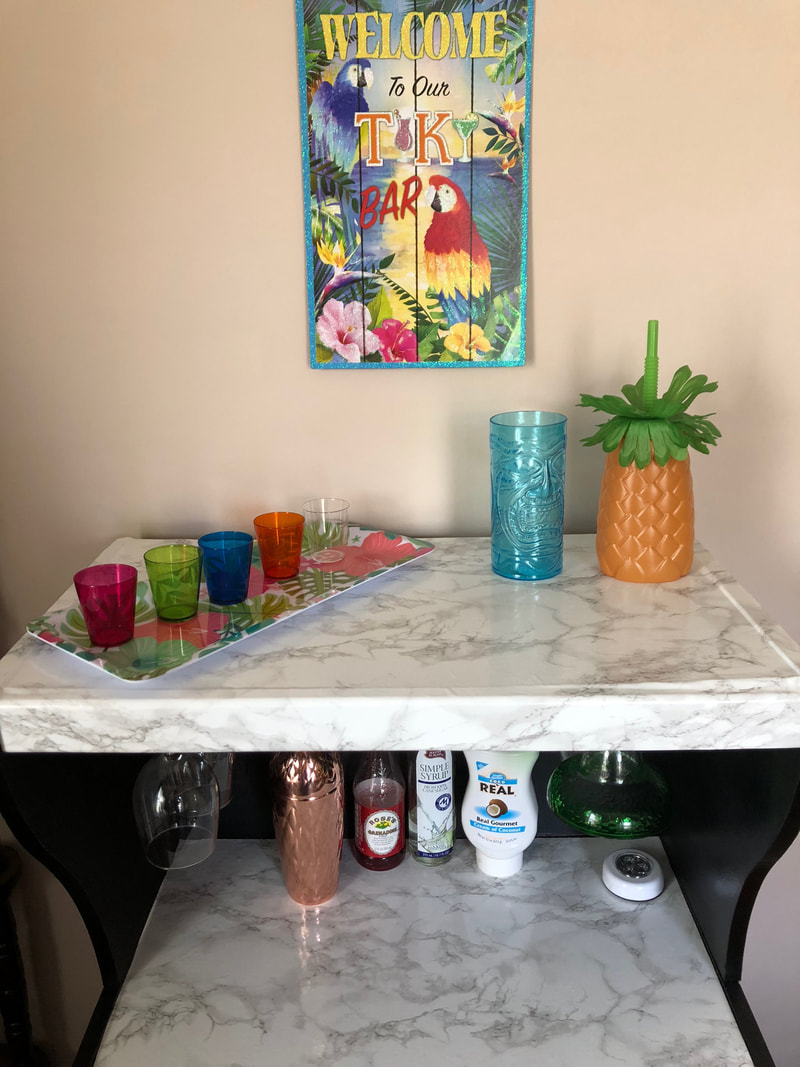
tep 4: Style your new bar cart! I put all my big liquor and wine bottles in the bottom cabinet, all my wine stoppers, cup cozies, and shot glasses in the drawer, my wine glasses on the rack, and my syrups and tumblers on the shelf. I got lucky that Summer was just around the corner and Dollar Tree had a whole bunch of tiki bar items in stock so I was able to get a sign, towel, tray, and pineapple and tiki cups all for $1 each! How awesome did it turn out?!
See? Easy peasy! What do you think about my microwave cart turned bar cart furniture flip? Have you ever made a bar car like this before? Let me know in the comments below!
And check below for a side-by-side glimpse of the microwave cart before and the bar cart after! Related Posts:
3 Comments
Karen
5/14/2018 09:56:42 am
Wow, that looks fantastic! what a difference.
Reply
Jennifer
5/16/2018 11:23:20 am
Thank you, Karen!
Reply
Leave a Reply. |
AuthorI'm Jennifer, a 26 year-old crochet enthusiast who loves sharing my projects with the world. You shop shop a variety of my designs on Etsy! Jennifer Hines is a participant in the Amazon Services LLC Associates Program, an affiliate advertising program designed to provide a means for sites to earn advertising fees by advertising and linking to amazon.com. Categories |
Blog Posts |
Beanies & Weenies |
|

 RSS Feed
