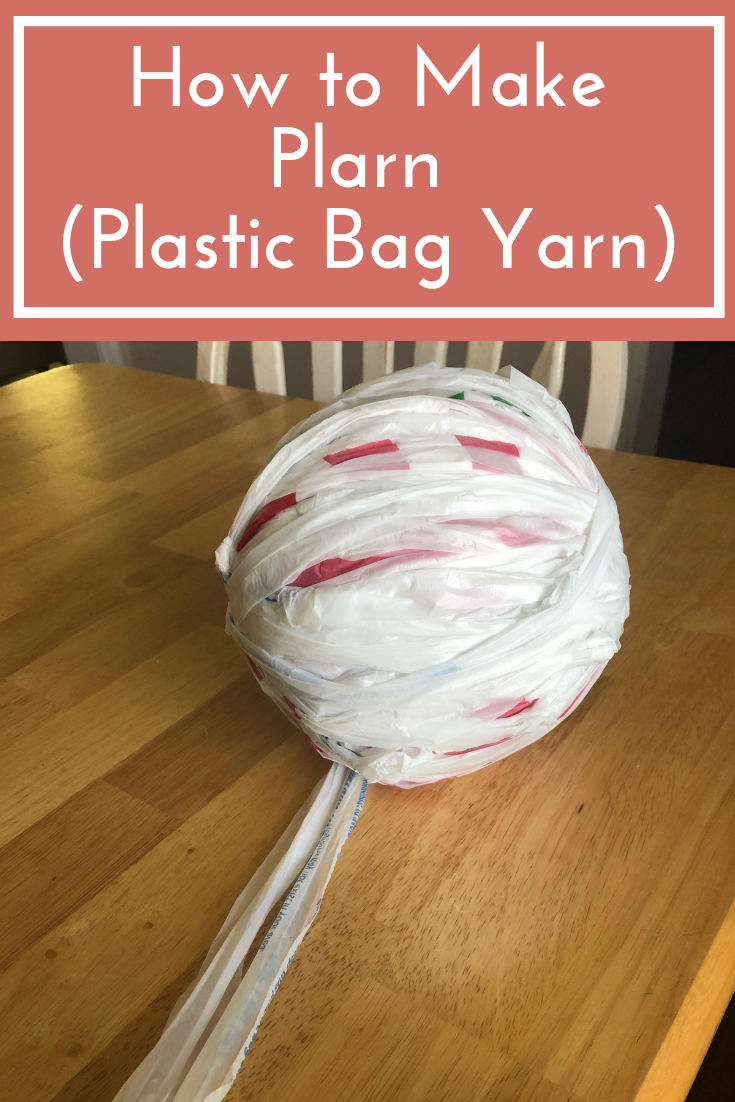
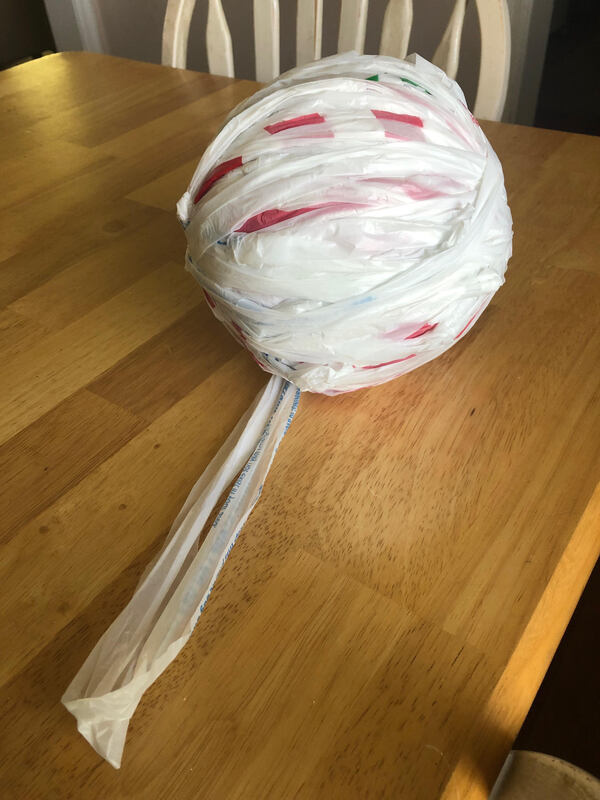
I've been looking for more and more ways do my part in saving the planet lately. Besides using more reusable crocheted items that I would normally throw away (such as Swiffer duster covers, reusable cotton rounds, and more), I have also been composting and finding other fun ways to reuse what would otherwise be waste- like plastic grocery bags! My favorite way to reuse plastic bags is making plarn (or plastic bag yarn)!
Plarn is just a fancy word for cutting up plastic grocery bags and stringing them together to make a ball of yarn. You can use this yarn to crochet, or knit, most anything you would use regular yarn for! My favorites so far have been using plarn to make reusable shopping bags and a rug. (Stay tuned for patterns!)
While I try to use reusable shopping bags every chance that I get, I still find myself picking up plastic grocery bags when I'm in a pinch, or when I just need more trash bags for the cat litter. No matter the reason, my plastic bags started piling up and I know many other people have the same issue. And that's how I stumbled upon plarn! Plarn isn't just for crocheters or knitters. You can use plarn for a variety of craft projects. The possibilities are virtually endless with plarn! So, if you're ready to start doing your part to save the planet and put all those plastic grocery bags to good use instead of throwing them away, keep reading!
Materials:
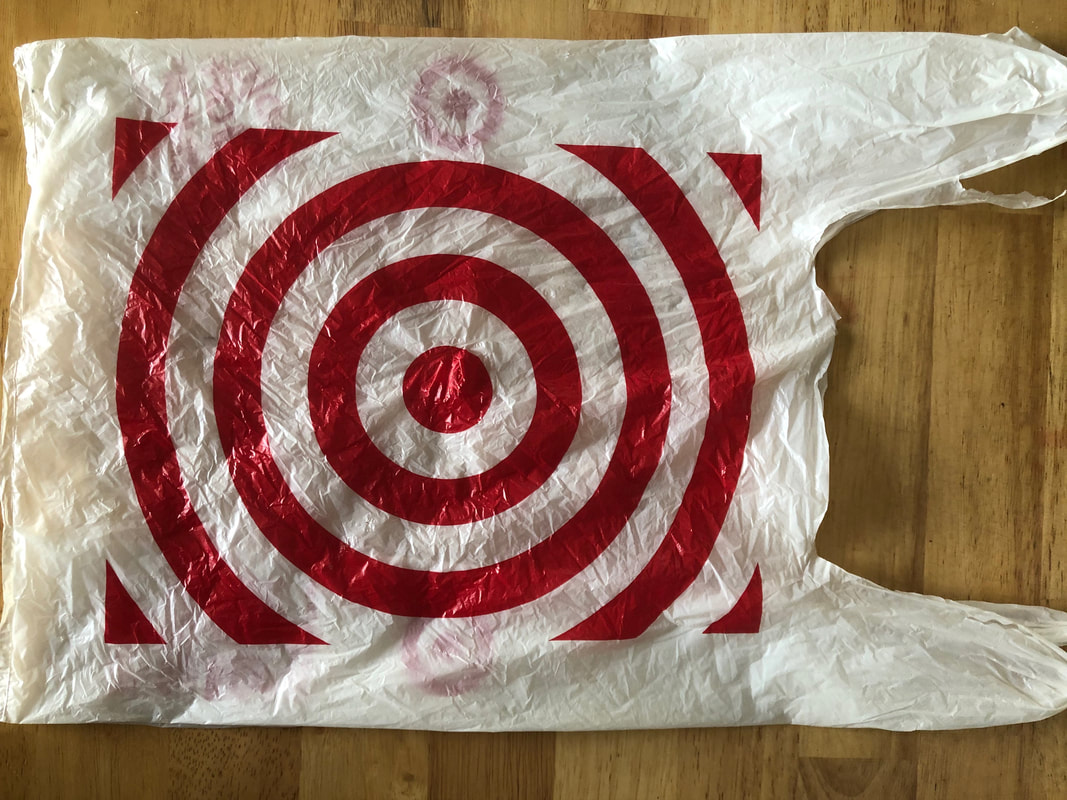
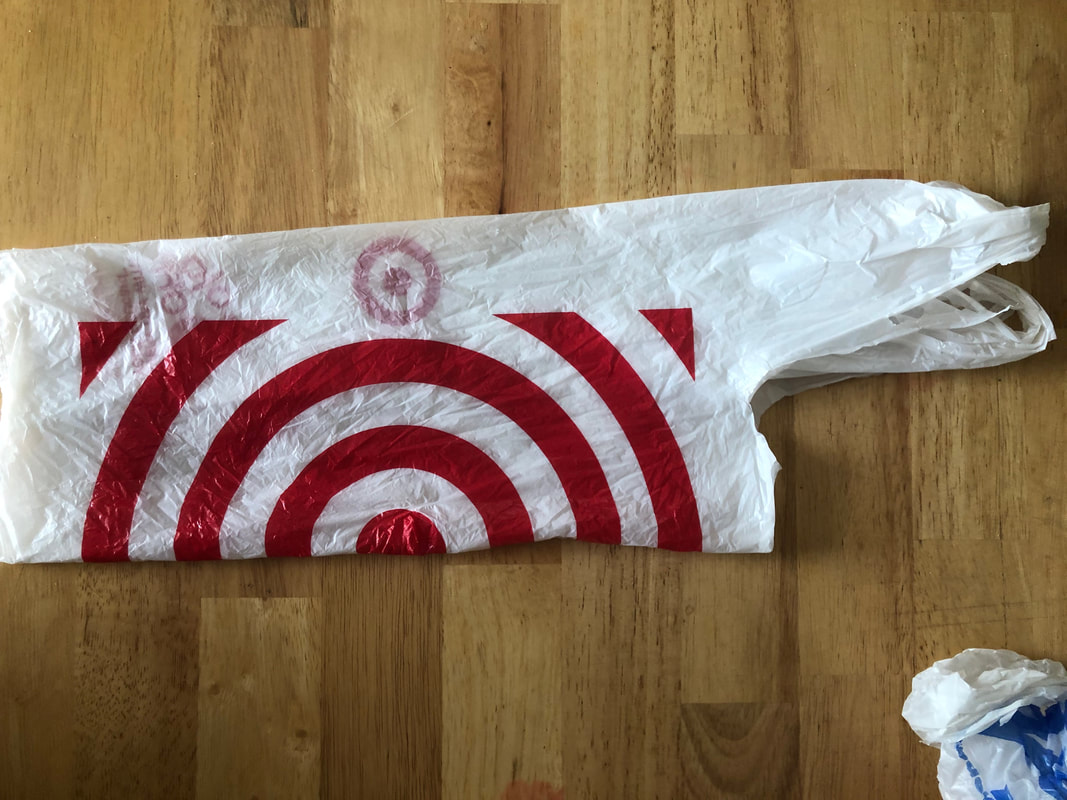
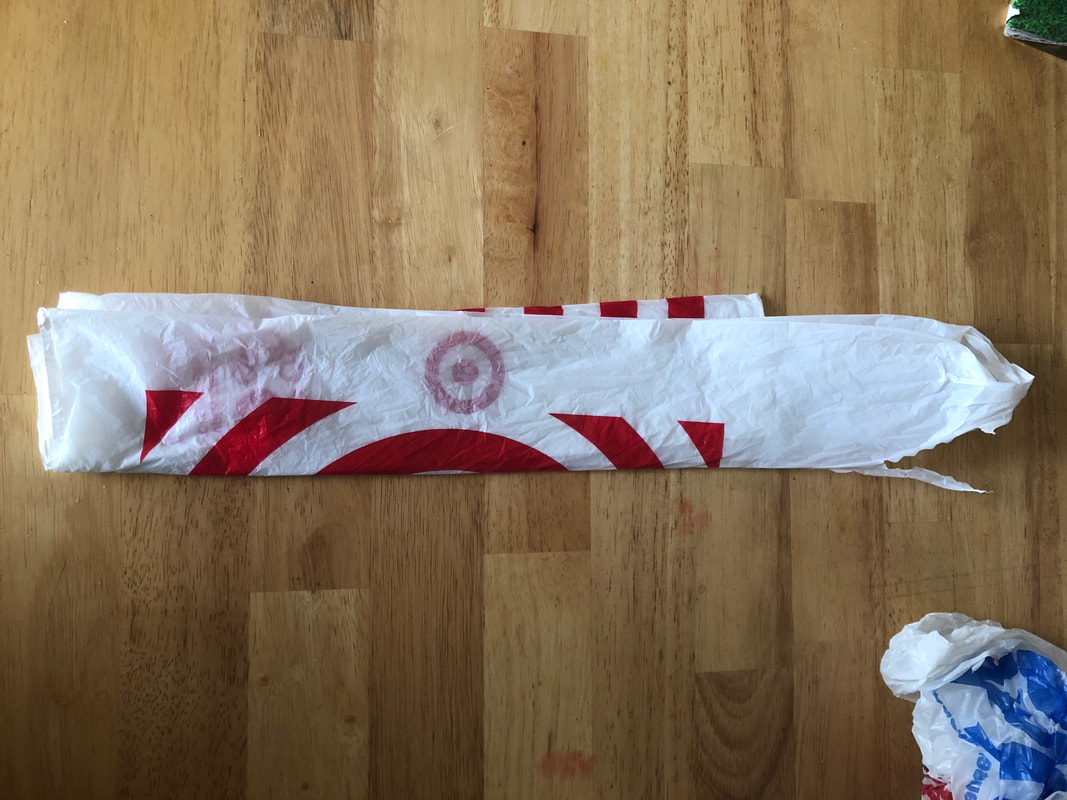
Step 1: Take a plastic bag and flatten it out. Fold it lengthwise at least two times (see pictures a, b, and c).
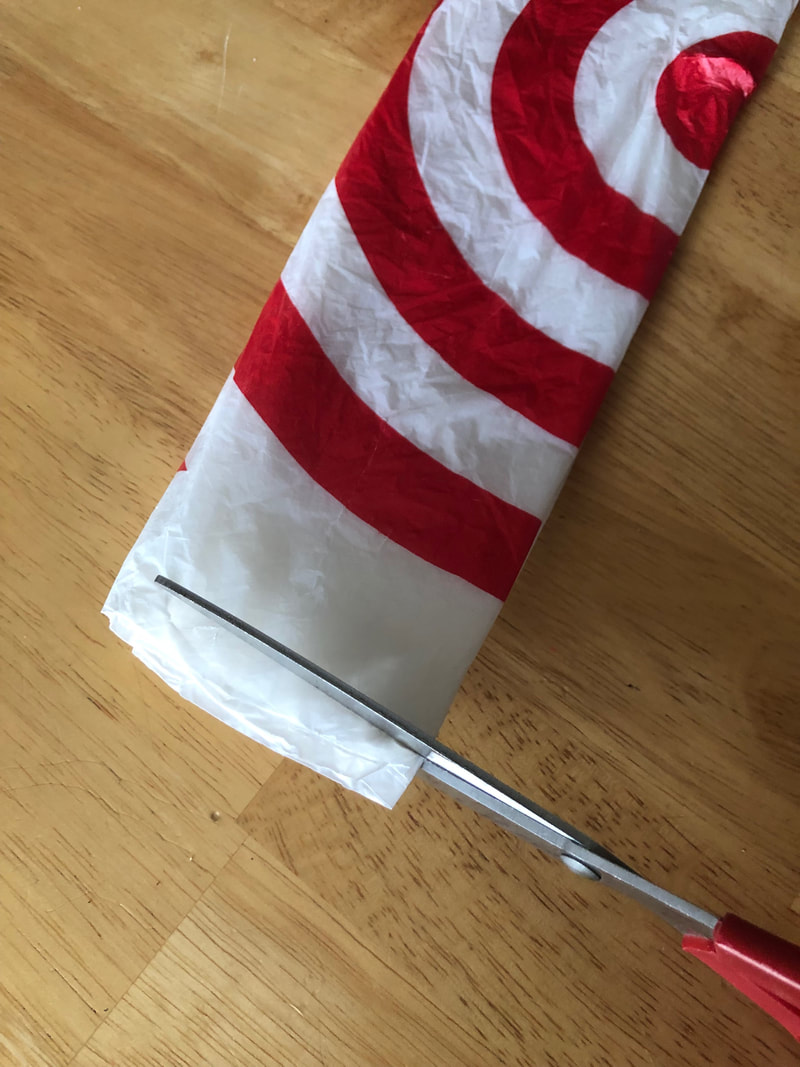
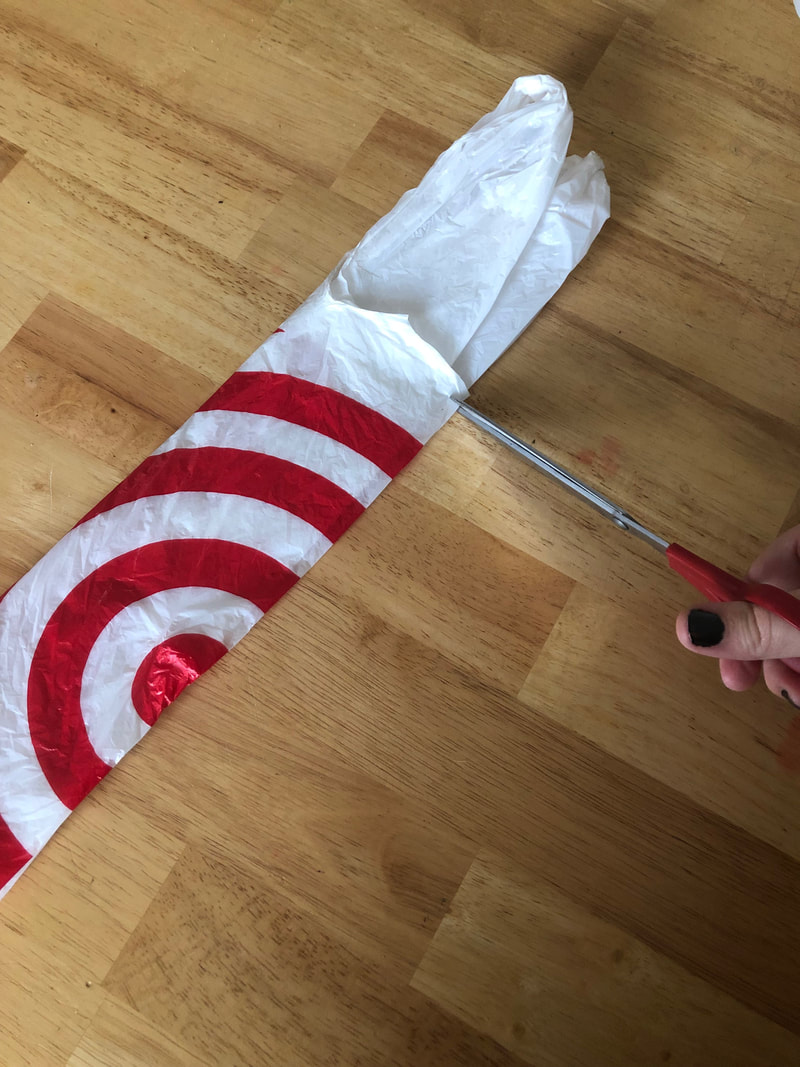
Step 2: Cut off both ends of the bag- the end that's the bottom of the bag (picture d) and the end that's the handles (picture e). Throw these scraps away (or recycle ;)), or save them for some crafty purposes for later!
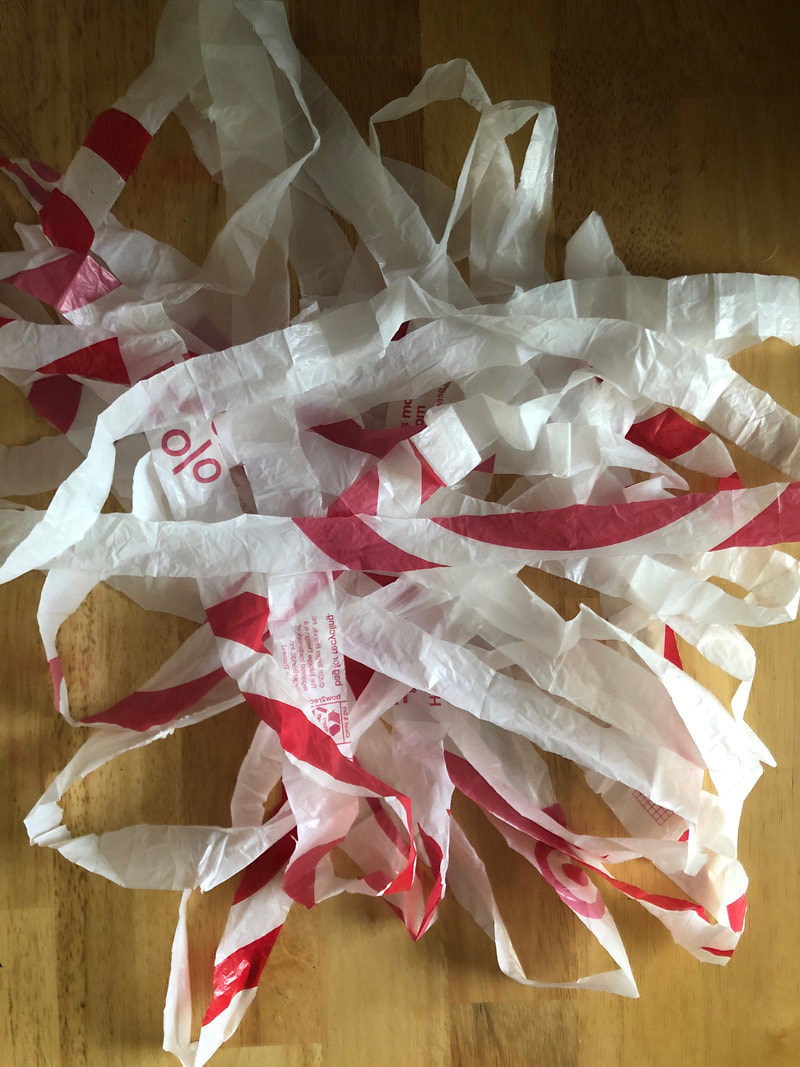
Step 3: Cut the remaining strip of folded plastic bag into 1-2 inch sections. You will get a whole bunch of squares (picture f). I aim to get 7-8 squares out of each plastic bag.
Step 4: Unfold each square until you have a pile of large circles (picture g).
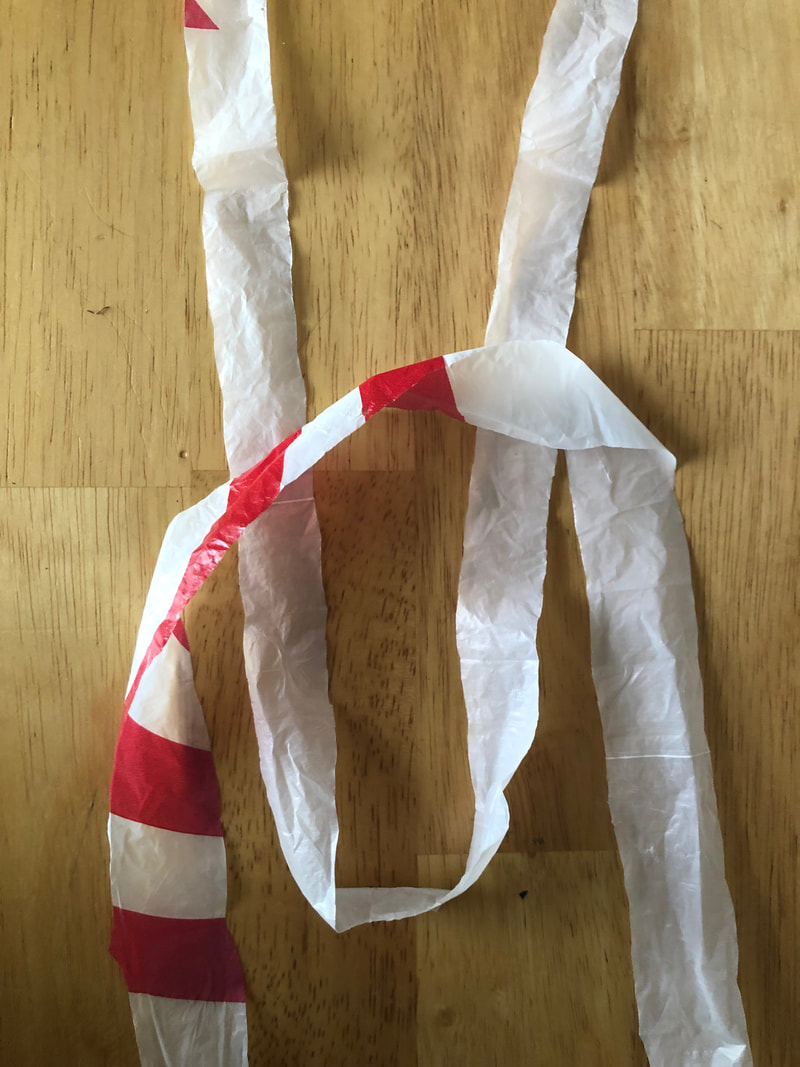
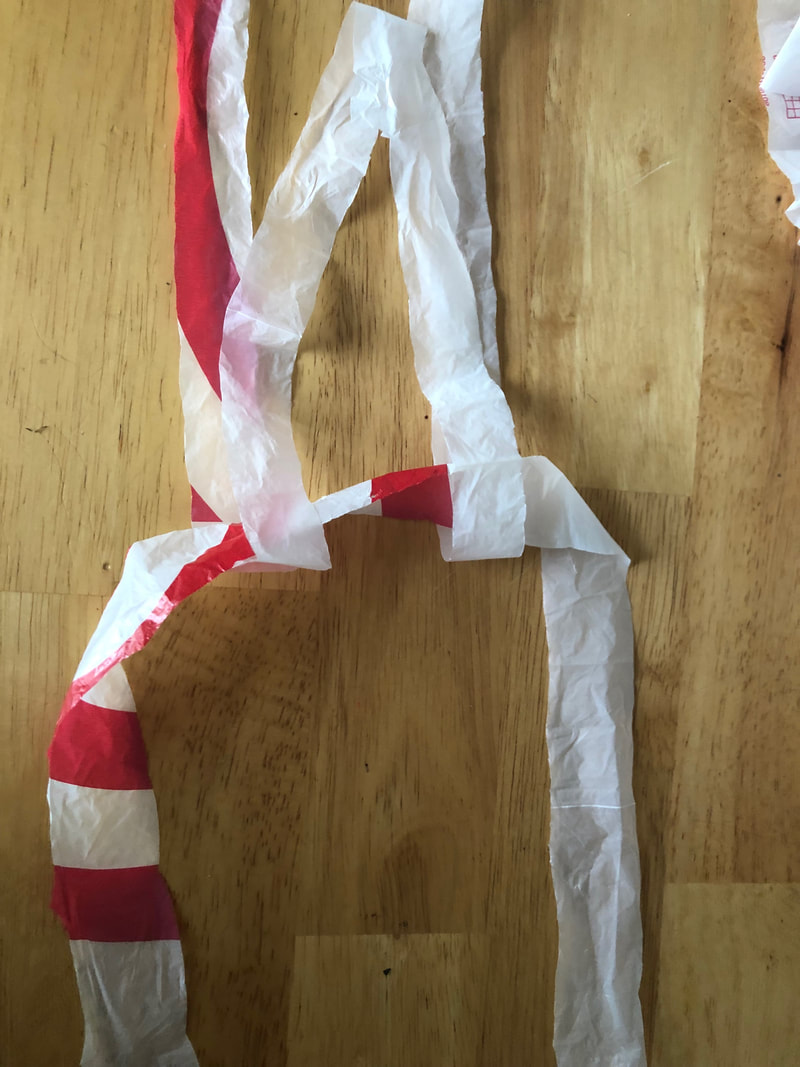
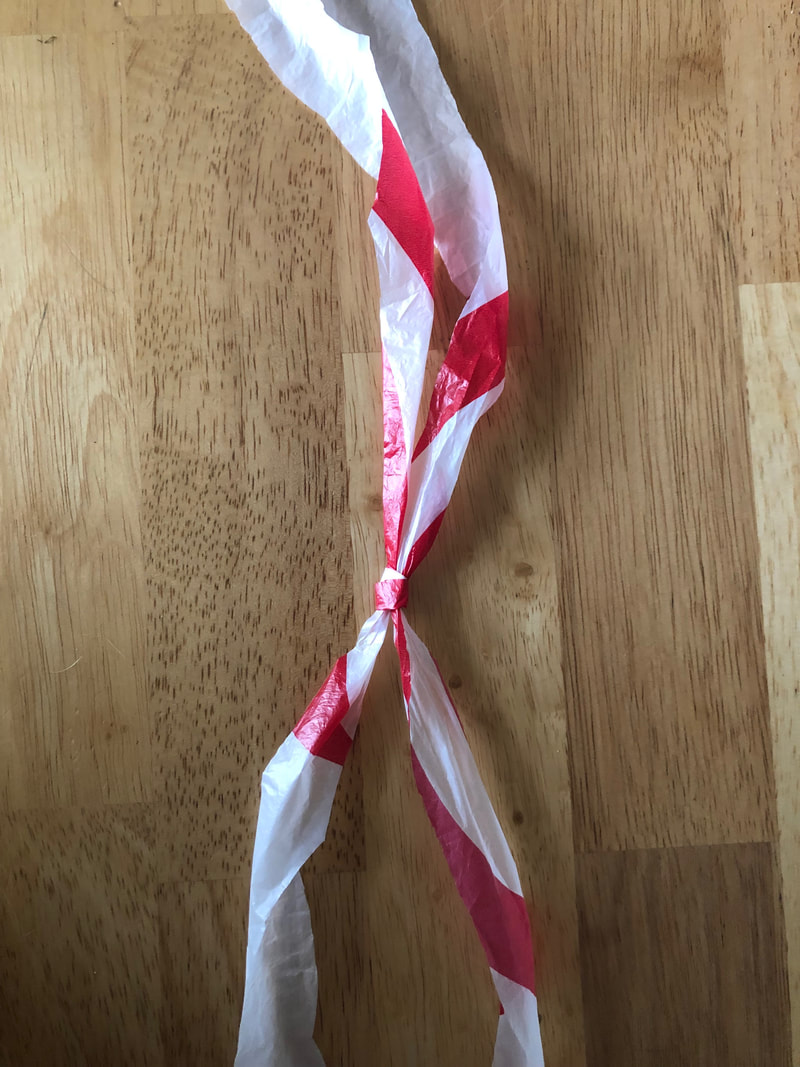
Step 5: This is the trickiest step of making plarn so once you master this, making plarn will become a piece of cake! To form a continuous strand of plarn, we need to attach all of these circles together. Start by laying an open circle down and overlapping it slightly with another (see picture h). Then, take the bottom circle and start pulling it through the top circle. Before you pull it through all the way, begin pulling it through the center of itself (see picture i). Finish bu pulling it tight (see picture j). This is a simple lark's head knot. For a more detailed description and tutorial, visit this guide to lark's head knots.
Step 6: Continue with step 5 until you have used up all your bags or you have a large enough ball of plarn to start making stuff!
And viola! That's all you need to do to make plarn! It's super easy and so great for the planet! And make sure to stay tuned for some crochet patterns to use your plarn with.
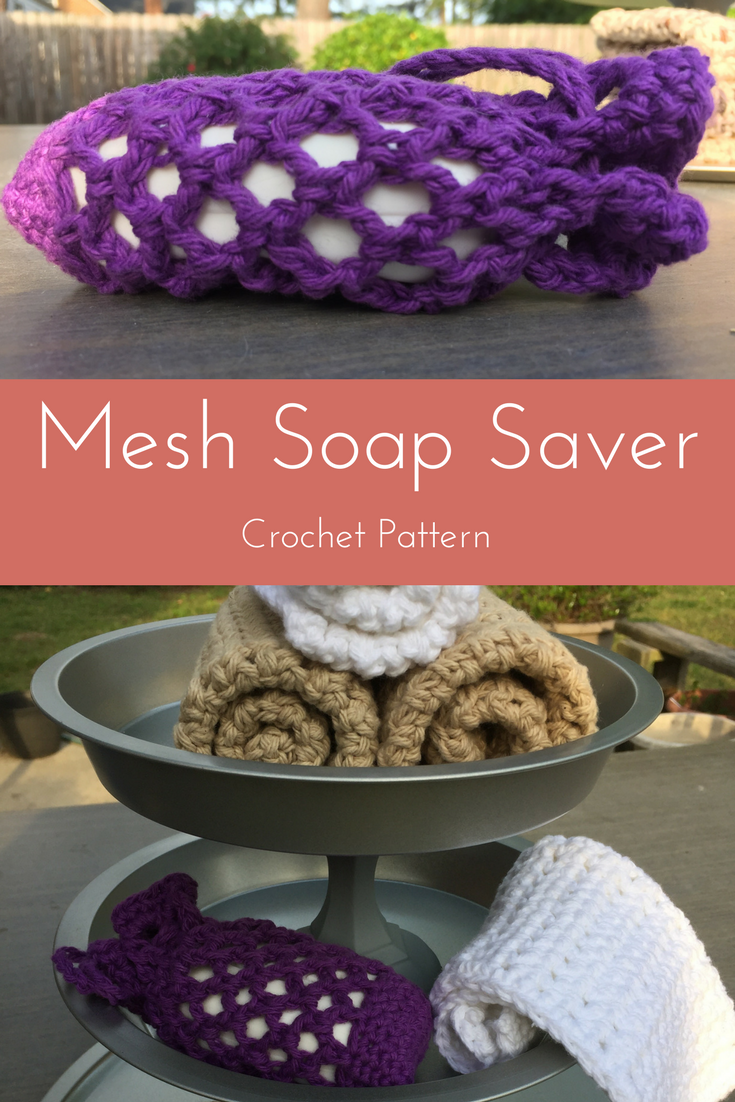
Also, if you need more reusable crochet patterns and items in your life, check out my Etsy shop where I sell crochet patterns for reusable items and other fun items like washcloths, soap savers, and shower poufs. 
Related Posts:
1 Comment
Judy Kendall
12/19/2019 01:42:13 pm
Thanks your pics and notes were easiest plarn eXplanation Leave a Reply. |

AuthorI'm Jennifer, a 26 year-old crochet enthusiast who loves sharing my projects with the world. You shop shop a variety of my designs on Etsy! Jennifer Hines is a participant in the Amazon Services LLC Associates Program, an affiliate advertising program designed to provide a means for sites to earn advertising fees by advertising and linking to amazon.com. Categories |

 RSS Feed
Blog Posts |
Beanies & Weenies |
|