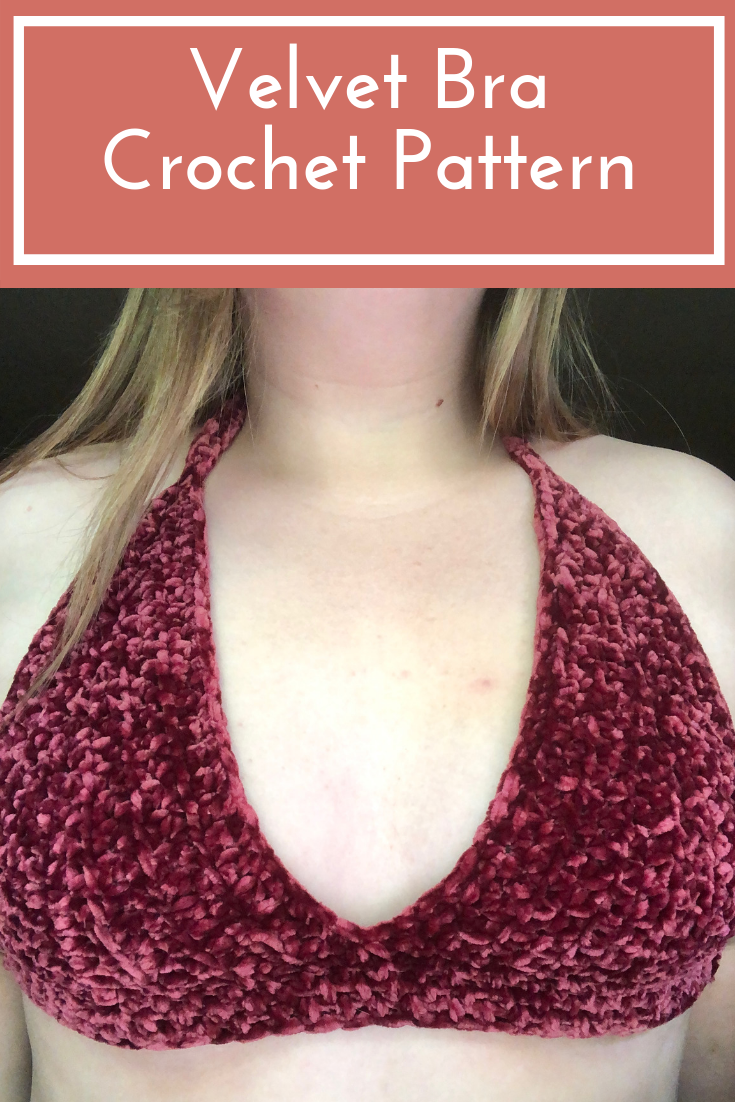
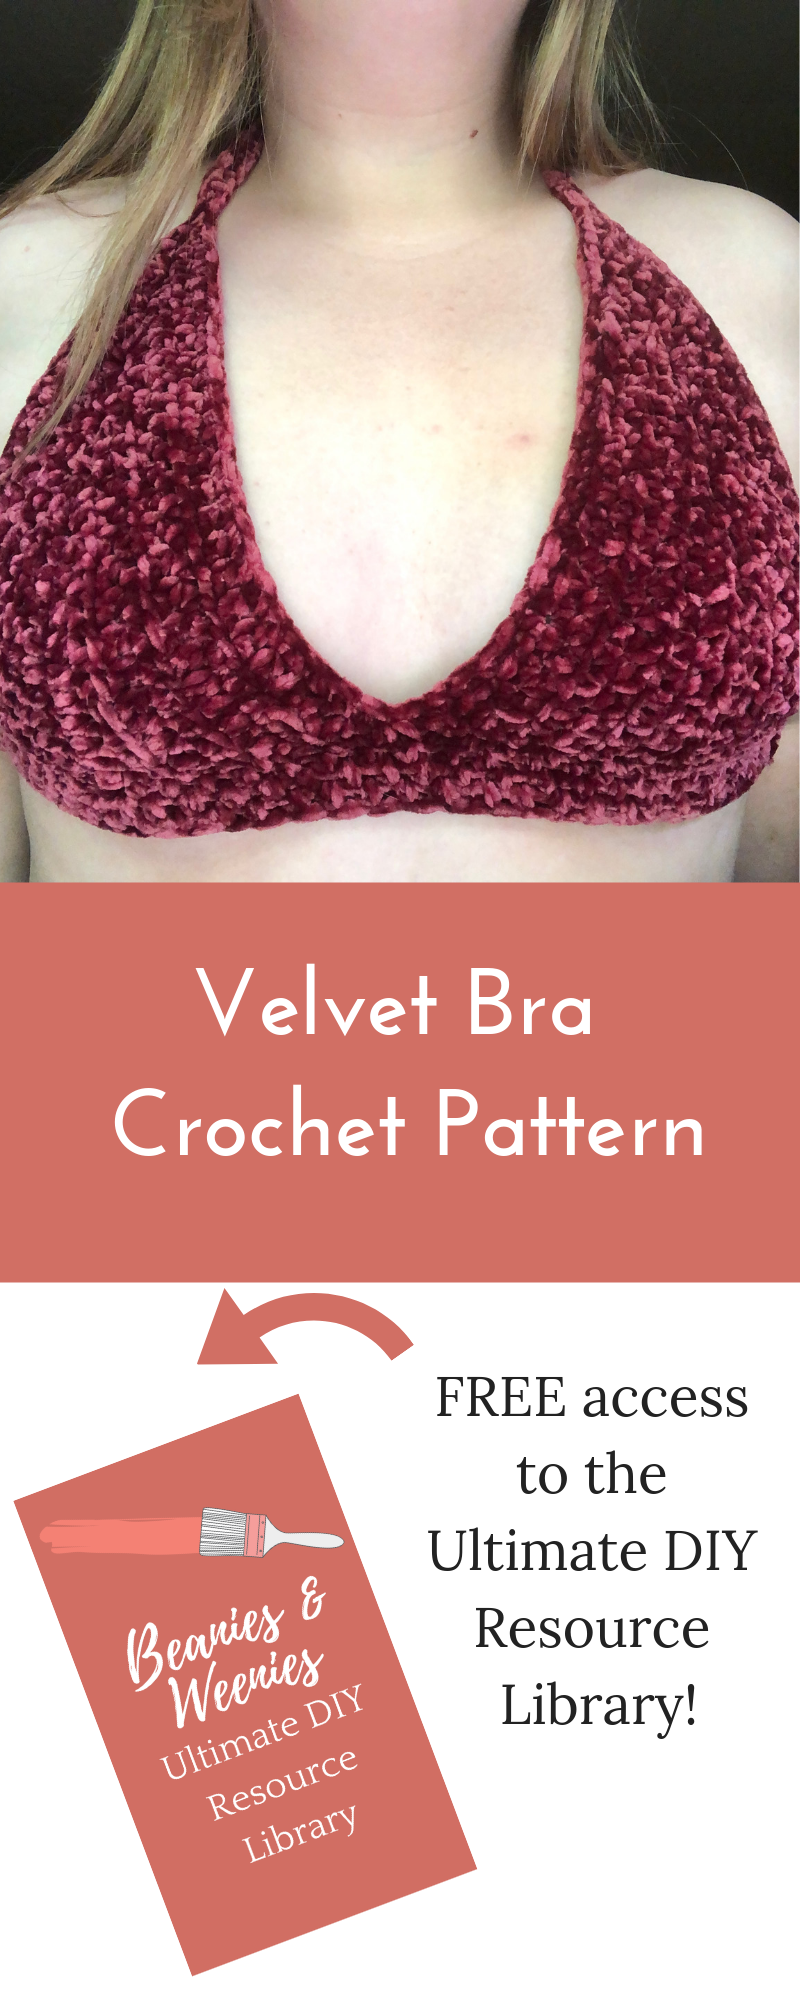
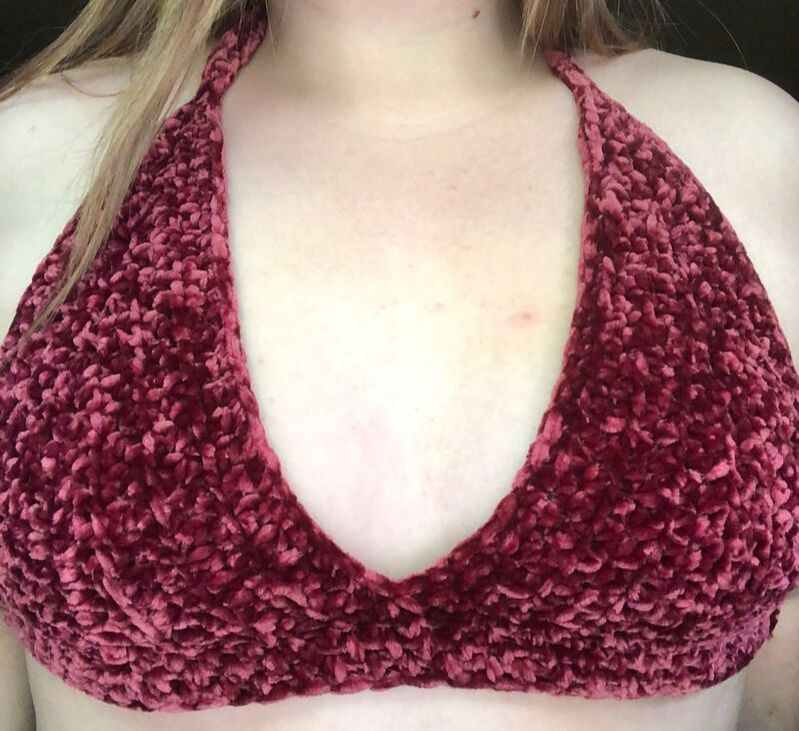
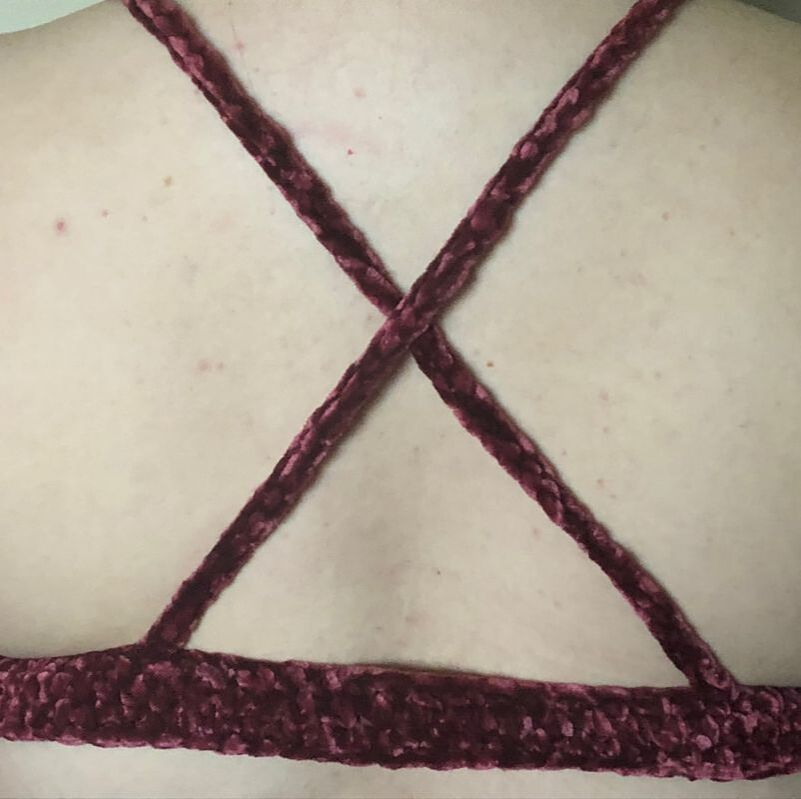
I've been so inspired by all the cute summer tops I have been seeing recently! Between that and all the velvet yarn on the market, I just knew I would have to make a velvet bralette before the summer was over. The result was this super cute and super soft velvet bra that makes for the perfect lounge bra, as well as a great festival top! Keep reading for the free crochet bra pattern!
This velvet bra crochet pattern takes less than one ball of velvet yarn, so you will have plenty left over to make some super cute velvet scrunchies! You will also need a J hook and a measuring tape to make sure you get your velvet bra to fit perfectly.
Before you start, measure around your around your chest so you know how wide to make the bra. As far as the cup sizes go, an A cup will be 5 inches wide, a B cup will be 6 inches wide, a C cup will be 7 inches wide, a D cup will be 8 inches wide, and so on and so forth. When crocheting this bra, you will crochet one cup at a time and then join them together. After crocheting the cups together, you will then chain the appropriate amount for the width you want and then join it to the other side of the joined cups. After crocheting the band, you will then crochet across the tops of the cup and then creating the criss-crossed straps before finishing. And that's it! It's that simple! Keep reading for the full pattern below. For an ad free version of my velvet bra crochet pattern, visit my Etsy!
Materials
Abbreviations
Velvet Bra Pattern
Cups Ch. 10 1. In the 2nd ch from hook, hdc, hdc in next 8 ch, (2 hdc, ch 2, 2 hdc) in last ch, hdc down the other side of the 9 ch 2. Ch 1, hdc 10, (2 hdc, ch 2, 2hdc) in ch 2 sp, hdc 10 3. Ch 1, hdc 12, (2 hdc, ch 2, 2hdc) in ch 2 sp, hdc 12 4. Ch 1, hdc 14, (2 hdc, ch 2, 2hdc) in ch 2 sp, hdc 14 5. Ch 1, hdc 16, (2 hdc, ch 2, 2hdc) in ch 2 sp, hdc 16 6. Ch 1, hdc 18, (2 hdc, ch 2, 2hdc) in ch 2 sp, hdc 18 stop here for an A cup 7. Ch 1, hdc 20, (2 hdc, ch 2, 2hdc) in ch 2 sp, hdc 20 stop here for a B cup 8. Ch 1, hdc 22, (2 hdc, ch 2, 2hdc) in ch 2 sp, hdc 22 stop here for a C cup 9. Ch 1, hdc 24, (2 hdc, ch 2, 2hdc) in ch 2 sp, hdc 24 stop here for a D cup When you are finished with on cup, cut yarn and hide tails. Then, make another. Do not cut yarn and hide tails when finished with the second cup.
Band
When you are finished crocheting both cups, lay them side by side with the bottoms of the cup upright, right side facing up. 1. Hdc in the right most st, hdc across the fest of the bottom of the cup, hdctog the last st in the right cup and the first st of the left cup, hdc across the rest of the left cup. 2. Ch the appropriate amount for the width of the band, sl st to opposite side of the joined cups 3. HDC around, do not join rows 4-5. Repeat Round 3 Straps 1. Beginning at the bottom most stitch on the left side of the left cup, hdctog the last st of the band and the first st of the cup, *hdc in every st until the ch 2 sp, in the ch 2 sp, ch 40-50 (depending on your perfect fit) and sl st to attach strap to the right side of the band, sc back up the strap, hdc down the side the cup,* hdctog between cups, repeat from * to * except attaching the right strap to the left side of the band. 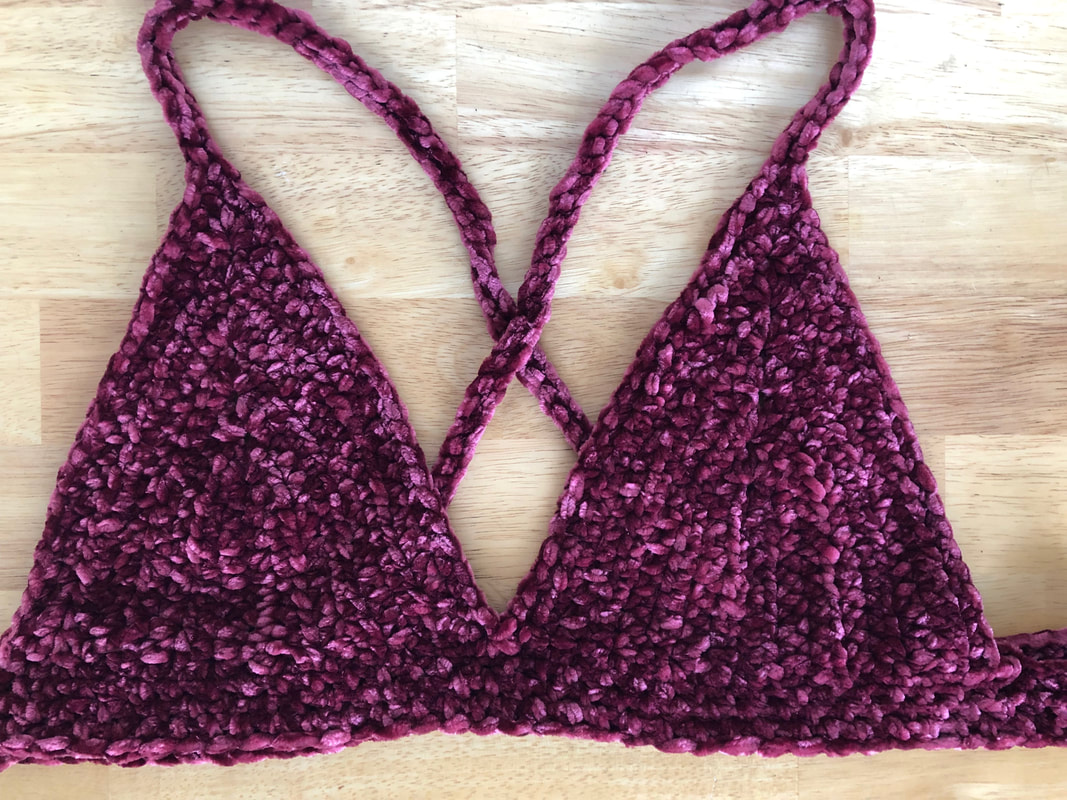
Related Posts:
6 Comments
Kat Parton
8/26/2020 06:19:27 am
Are the cups worked in the round? I can’t seem to get them to come out right
Madalyn
9/2/2020 10:56:53 pm
Same here. ^^ Not sure if you’re supposed to turn, or work in the round? Not getting the right # of stitches either way. its worked back and forth. it took me a minute to figure it out too. You turn when you get to the other side of the cup each time. I figured out that the number of stitches is the number of HDC on each side plus the 2hdc, ch2, 2hdc. so for example.....2. Ch 1, hdc 10, (2 hdc, ch 2, 2hdc) in ch 2 sp, hdc 10 (THIS IS ROW 2).... the number of total stitches is the 10 hdc on each side and the stitches in ( )....equaling 16 total (including the chain 2....Hope this helps. I just finished my bra today
Elizabeth
3/12/2021 11:30:43 am
Inaccurate cup sizing, vague instructions. Very disappointed.
Angela
9/30/2022 03:53:06 pm
If itdidnt stitch up right perhaps you did not use correct hook sizeand yarn to establish gauge, when this happens to me I start again and usually I can pick up where my mistake was made
María Belén
3/30/2022 02:00:42 pm
Wow.. It's pretty feminine and unique..! Thank you very much for this useful pattern! 😁💝 Leave a Reply. |

AuthorI'm Jennifer, a 26 year-old crochet enthusiast who loves sharing my projects with the world. You shop shop a variety of my designs on Etsy! Jennifer Hines is a participant in the Amazon Services LLC Associates Program, an affiliate advertising program designed to provide a means for sites to earn advertising fees by advertising and linking to amazon.com. Categories |
 RSS Feed
Blog Posts |
Beanies & Weenies |
|