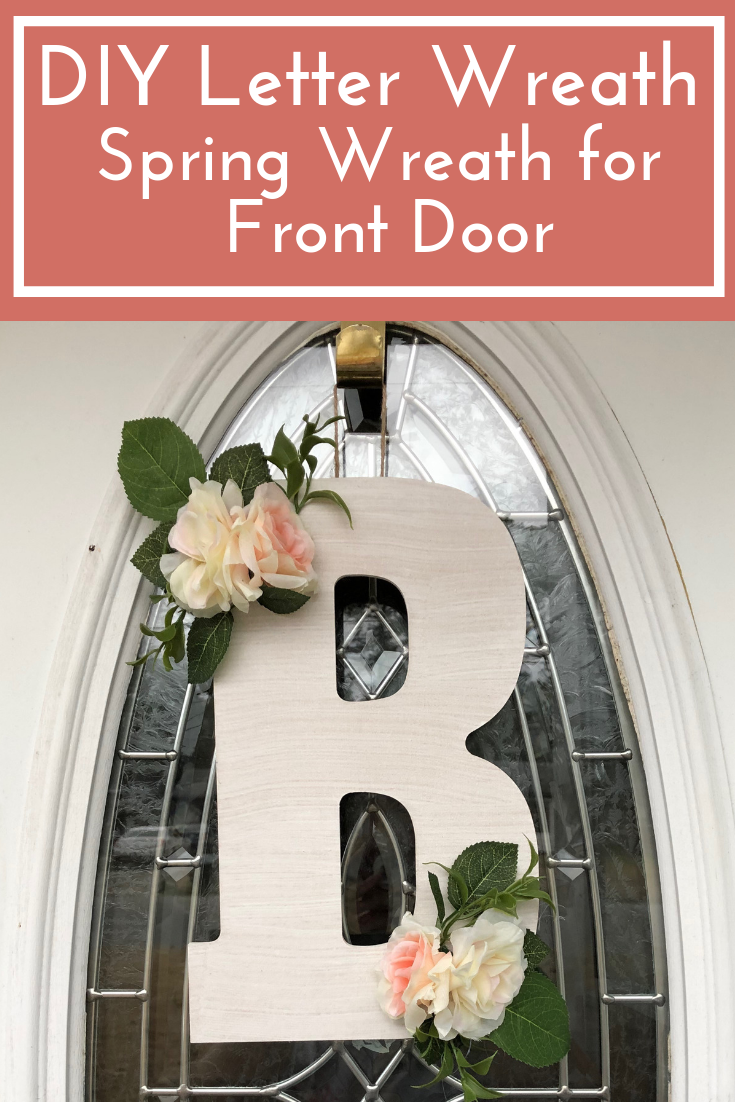
Spring is right around the corner! I was inspired by all cute decor on every shelf of every store and I was itching to get my craft gear out and make something cute and springy. That's how this DIY letter wreath was born! It was inspired by farmhouse lettering (AKA I wanted to white wash EVERYTHING) and beautiful spring floral and greenery. If you want to know how to make this spring wreath for your front door, then keep reading!
Making this spring front door wreath was very simple. I had half of the supplies I needed and only had to pick up a big letter and spring floral (which, let's be honest, as a craft hoarder, I was already going to do that anyway).
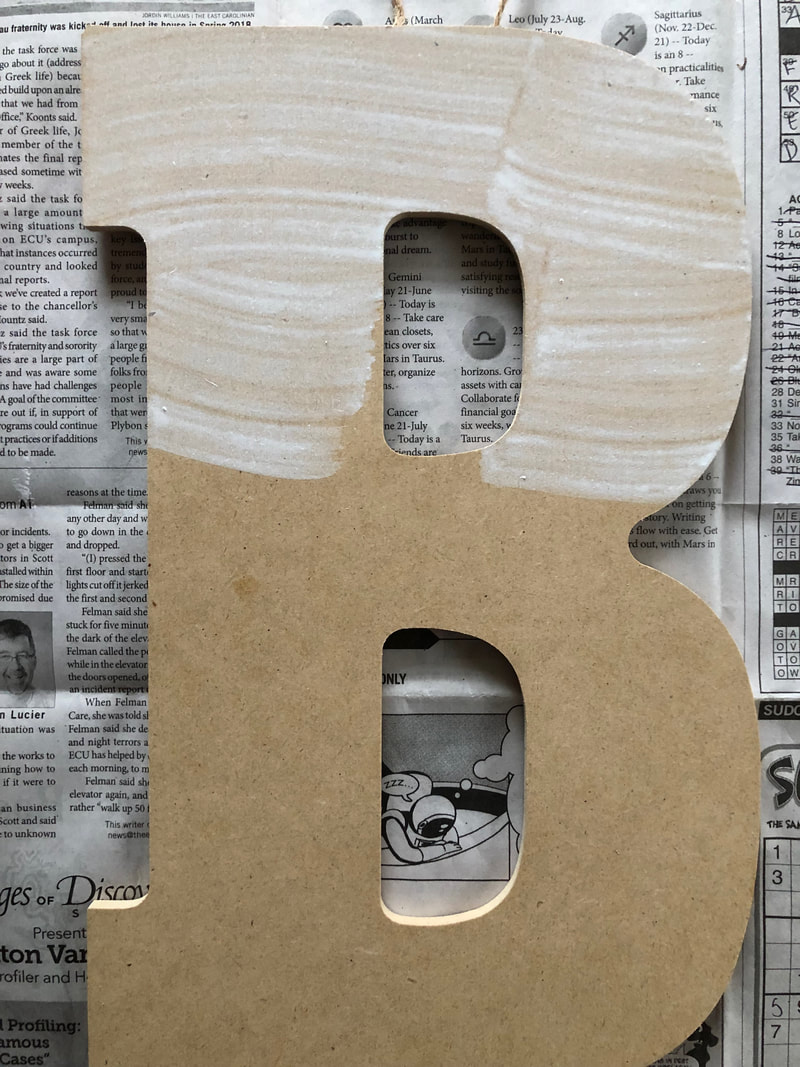
This spring, I'm seeing a lot of natural textures, clean, white elements, and greenery EVERYWHERE! These are all things I love, so I was super excited to whitewash the wood letter, break out the twine, and dive into my pile of extra greenery. To start, I added my own loop with the twine on the back of the letter with a lot of hot glue. Once that was dry, I flipped it over to begin the whitewashing! 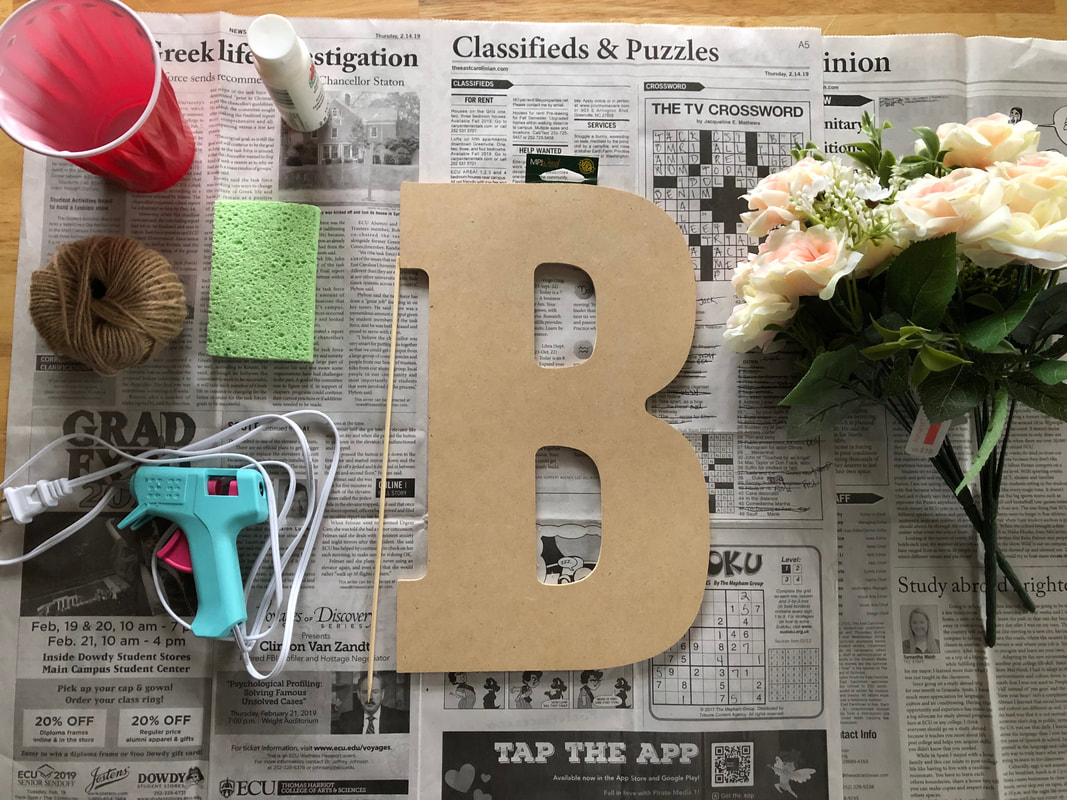
Materials
HOW TO WHITEWASH
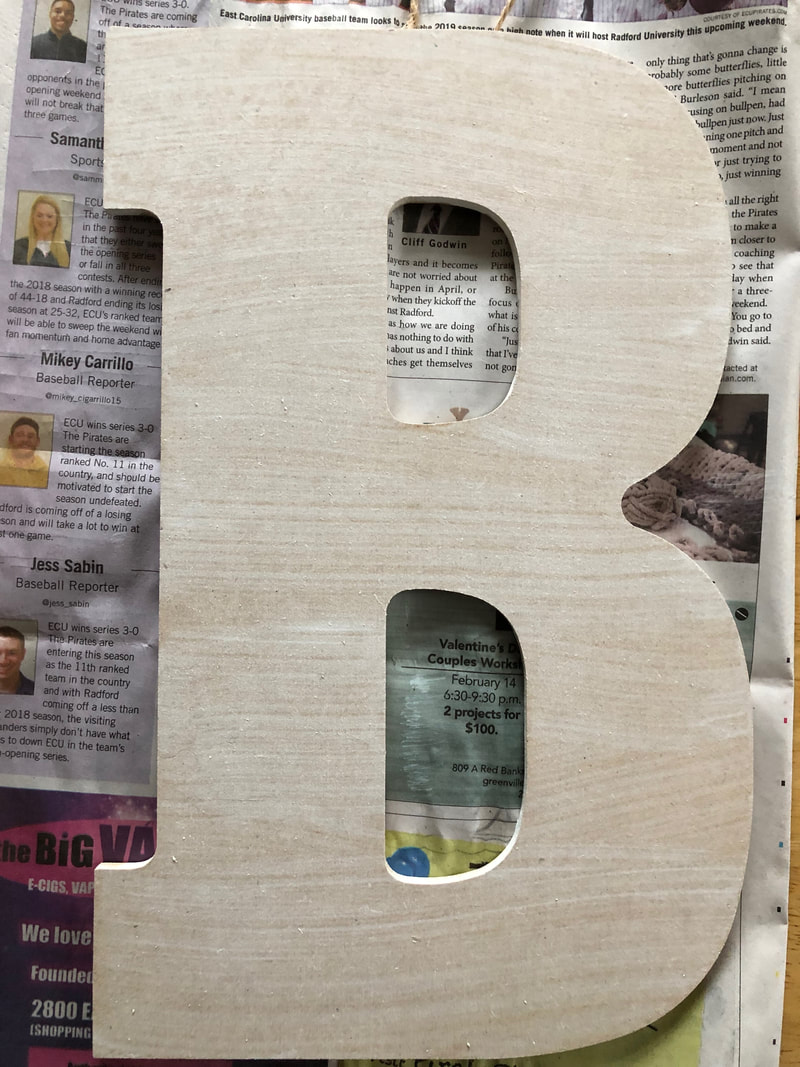
To achieve a whitewash effect, mix two parts white paint to one part water. For this letter wreath, I only used a couple tablespoons of paint, but the same ratio works for when you are painting larger objects, like furniture. When painting, use a sponge and always paint in the same direction. The paint will be pretty runny, so make sure your area is protected from splashes. Start at the very left of the letter and move the sponge slowly to the right until you are off the letter. Do not pick up the sponge mid-stroke. If you do, you will need to redo the entire stroke. Since the whitewash is so watery, you can see every movement you make with the paint. So also try to paint straight across if you can. Let the first coat dry, then apply a second.
ADDING THE FLOWERS
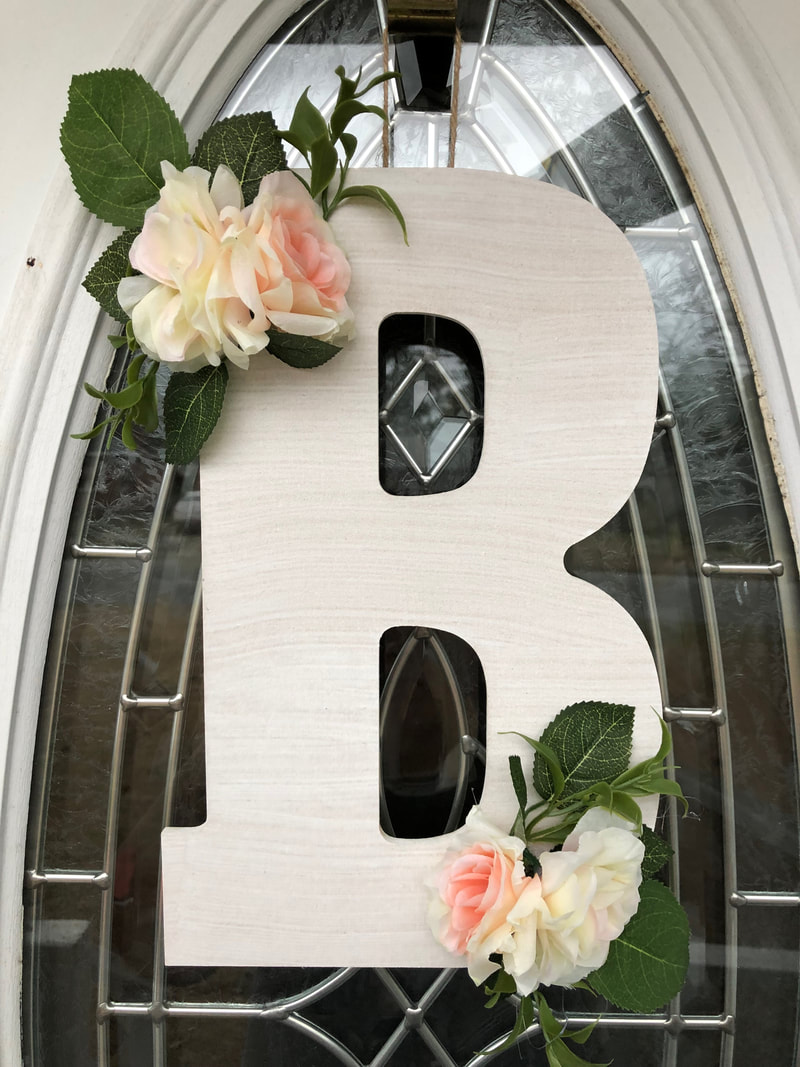
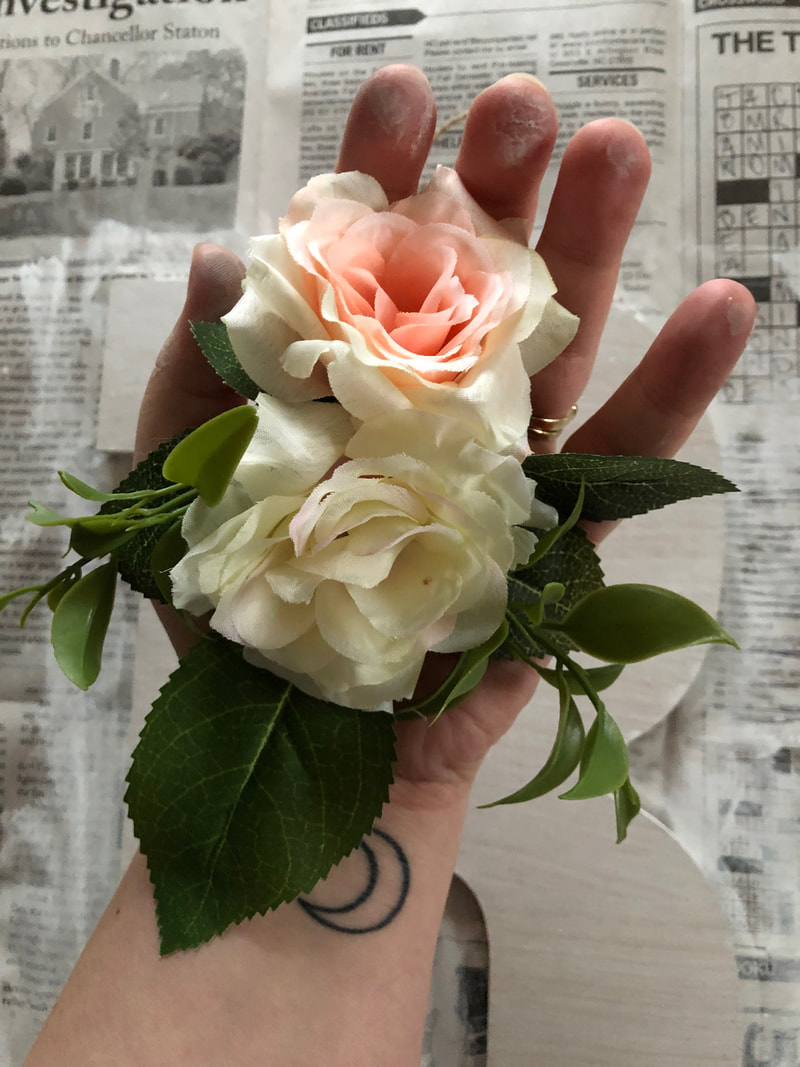
When the second coat of whitewash is dry, then you can add the flowers. The easiest way to add flowers on this flat latter is to pull them straight off the stem. This will allow you to hot glue the bottom of the flowers flat on top of the letter without too much wire getting in the way. Before you hot glue the flowers down, arrange them and any greenery you want on the letter, that way you can still change stuff around if it doesn't look like you envisioned. Once all the glue is dry, your DIY letter wreath is complete! Go ahead and hang it on your front door!
Materials:
Instructions:
Related Posts:
0 Comments
Leave a Reply. |

AuthorI'm Jennifer, a 26 year-old crochet enthusiast who loves sharing my projects with the world. You shop shop a variety of my designs on Etsy! Jennifer Hines is a participant in the Amazon Services LLC Associates Program, an affiliate advertising program designed to provide a means for sites to earn advertising fees by advertising and linking to amazon.com. Categories |


 RSS Feed
Blog Posts |
Beanies & Weenies |
|